
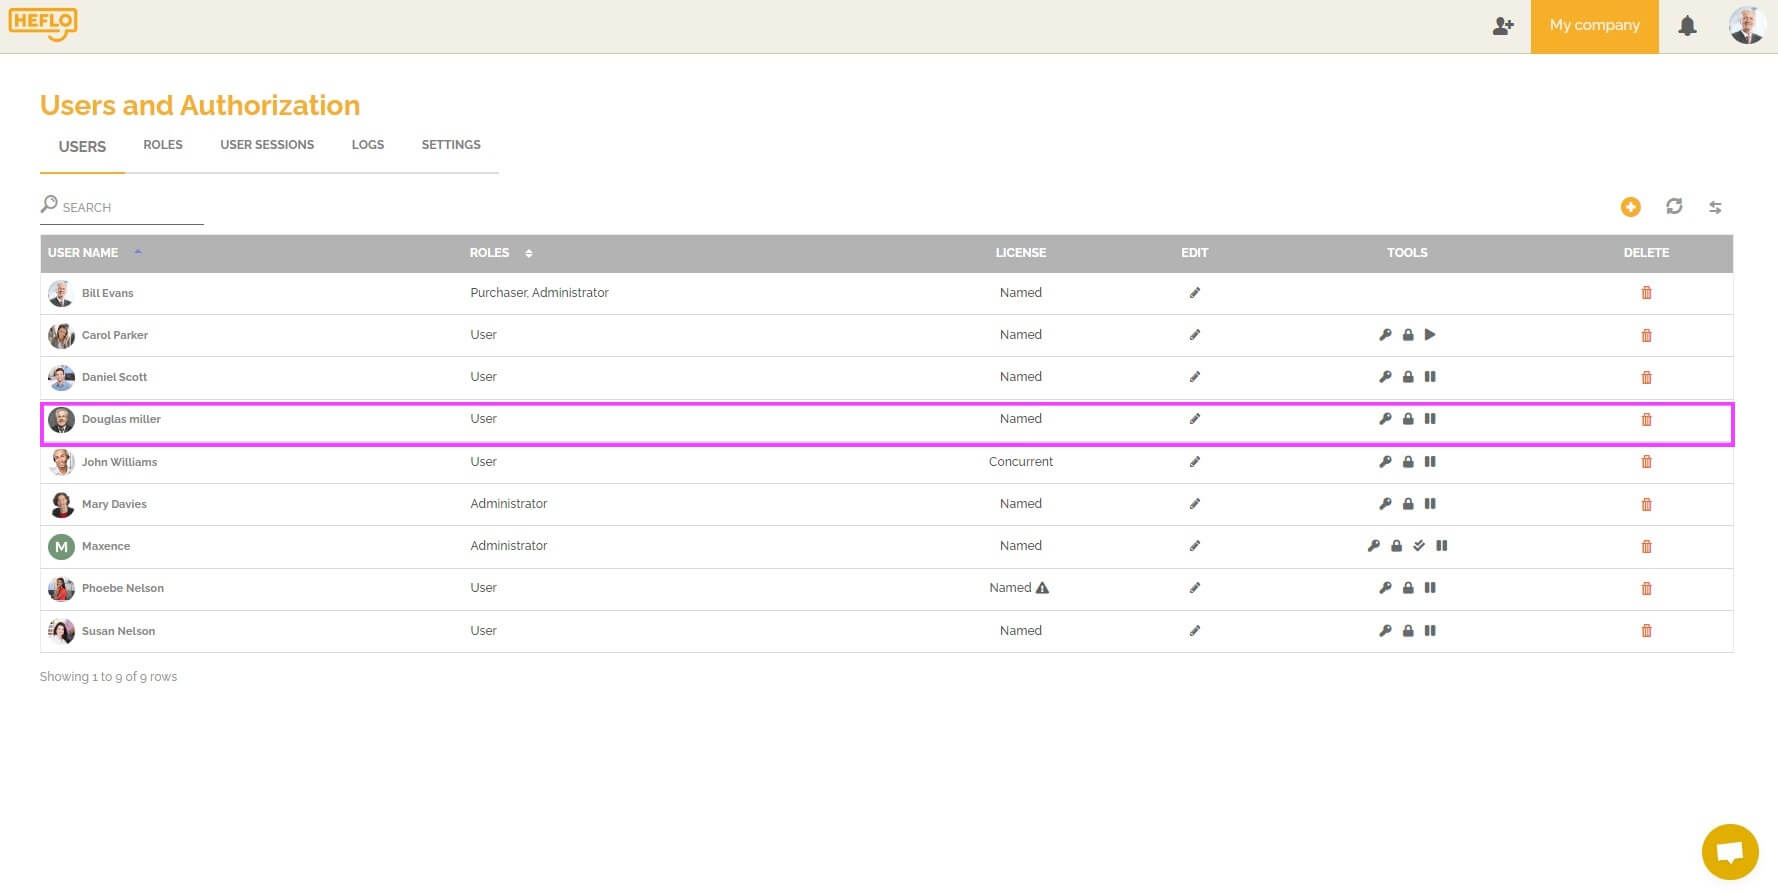
You can create a BPMN process to update the different users in your environment. Your users will then be able to run through this process to add other users, change their roles and licenses. They will also be able to remove access to the environment for one or more users.
This feature allows you to give your users the possibility to update the users of your environment without giving them access to the environment management screens.
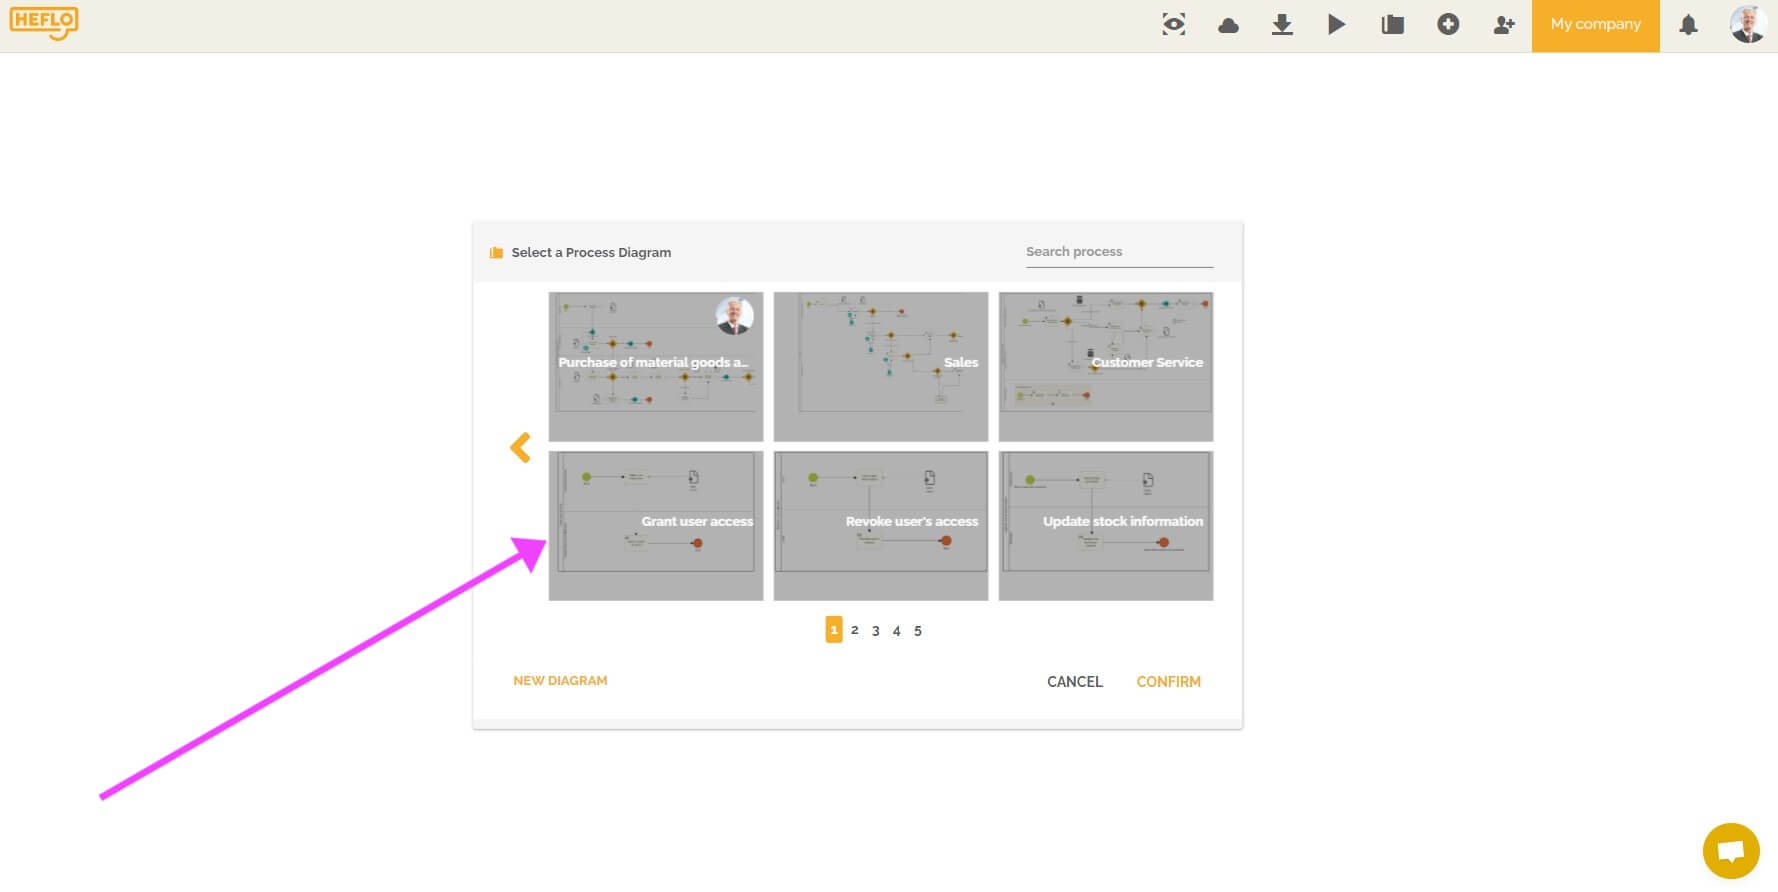
How to configure a process to create and/or invite a user in an environment?
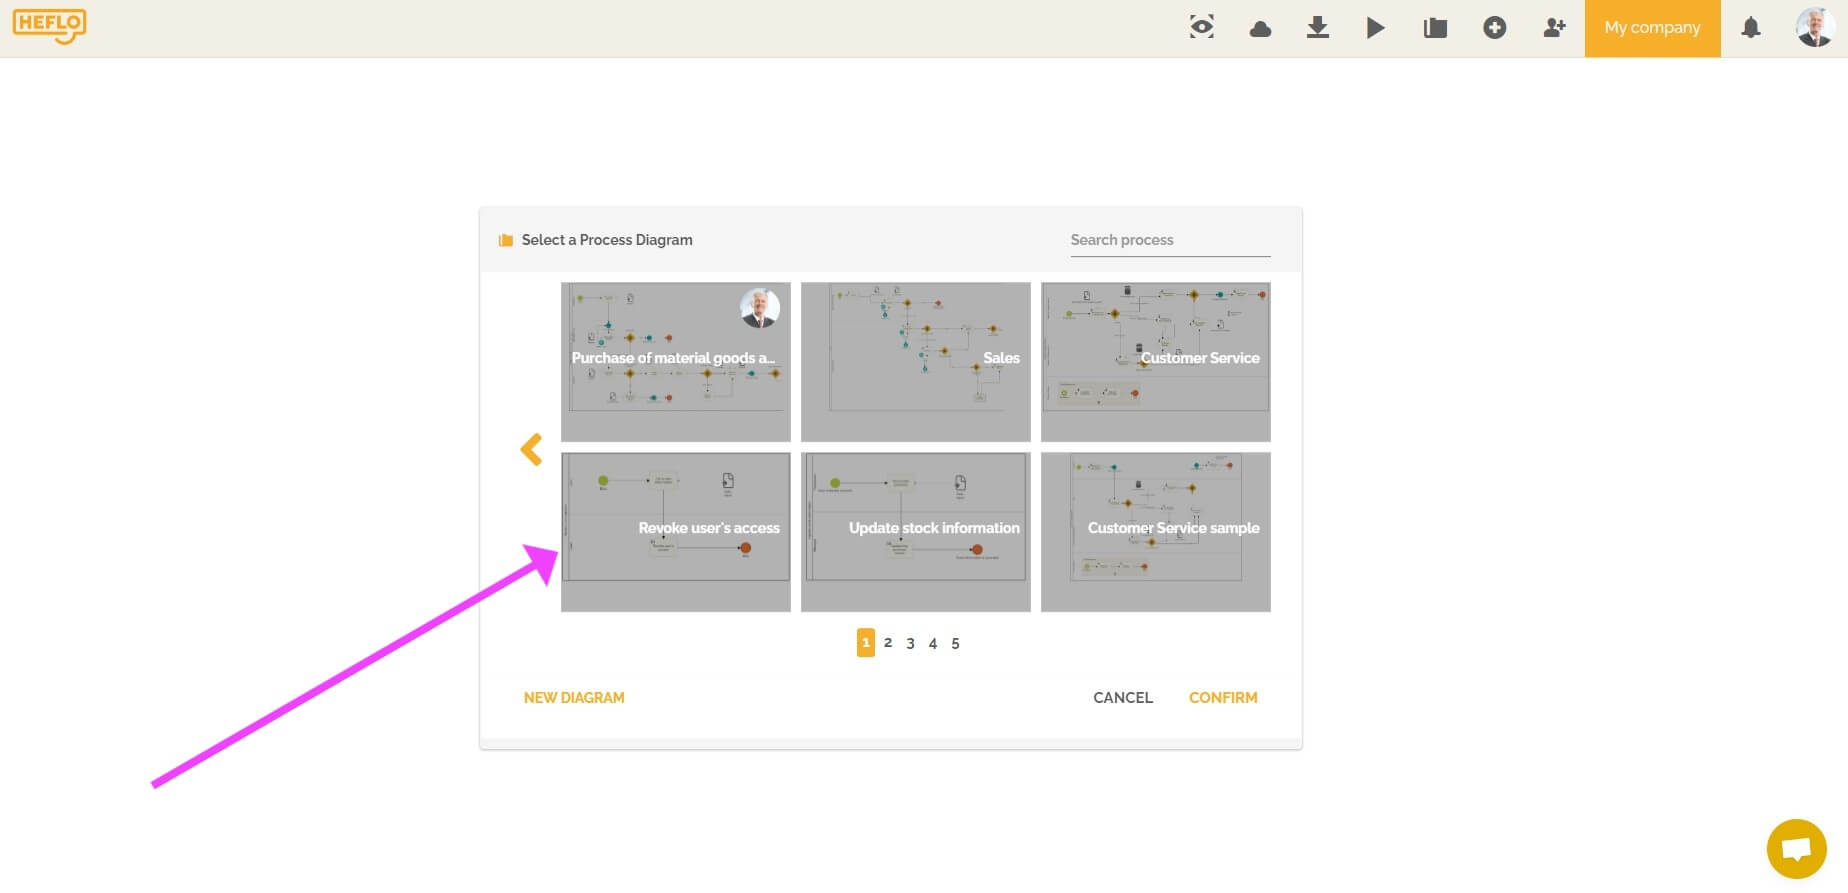
- Go to the process editor.
- Create or choose the process that will create and/or invite the user.
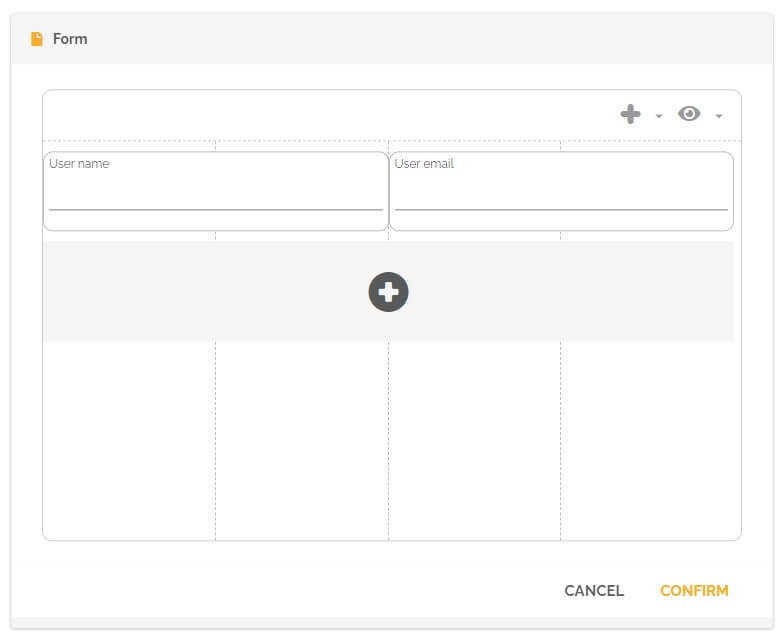
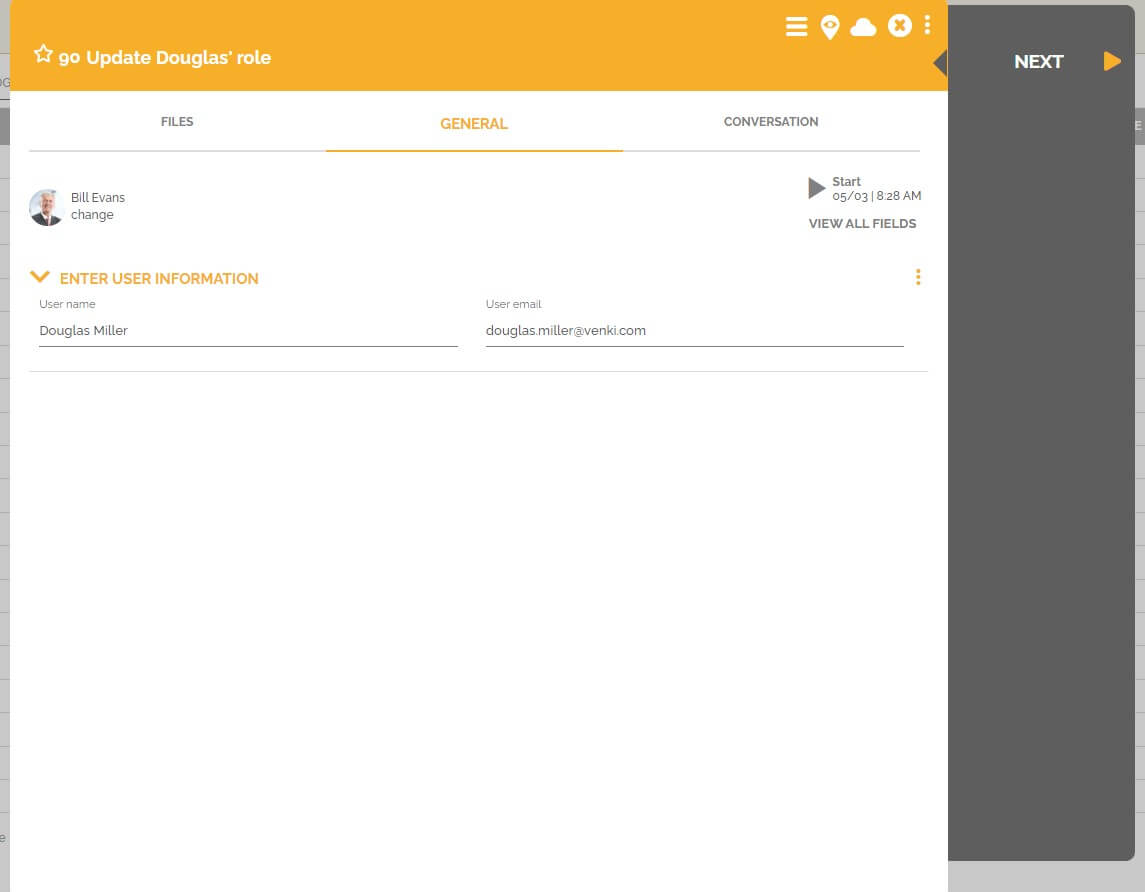
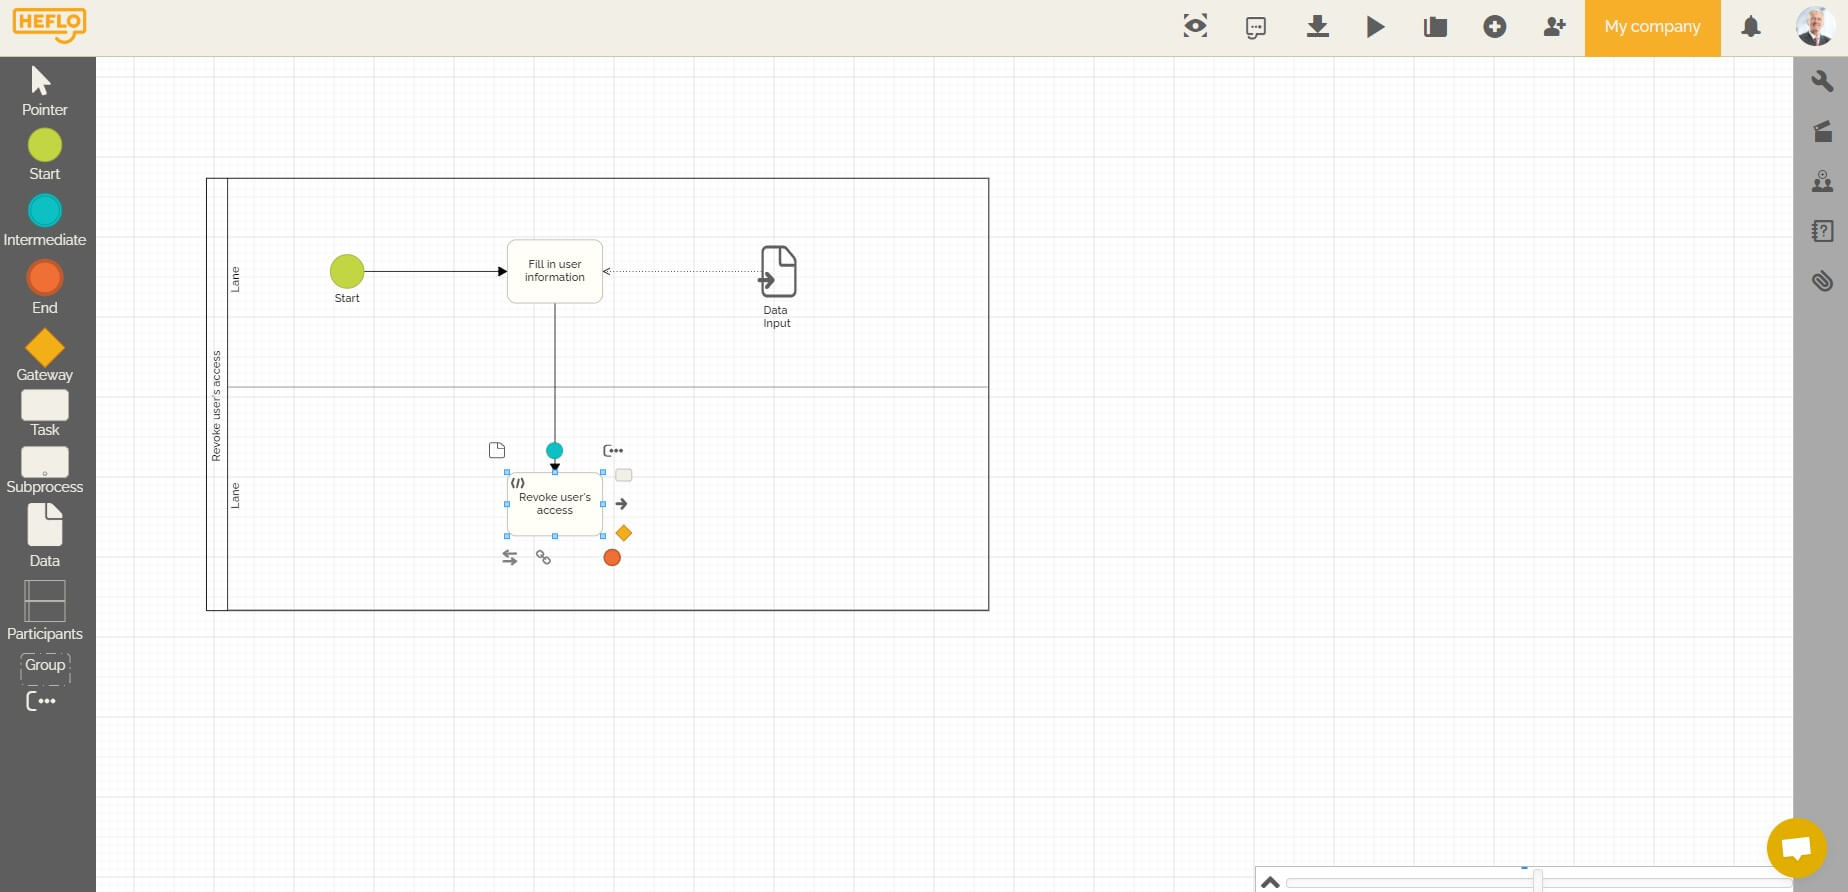
- Choose a task and add a form that will contain the fields that the user will fill in to give the relevant user’s information.
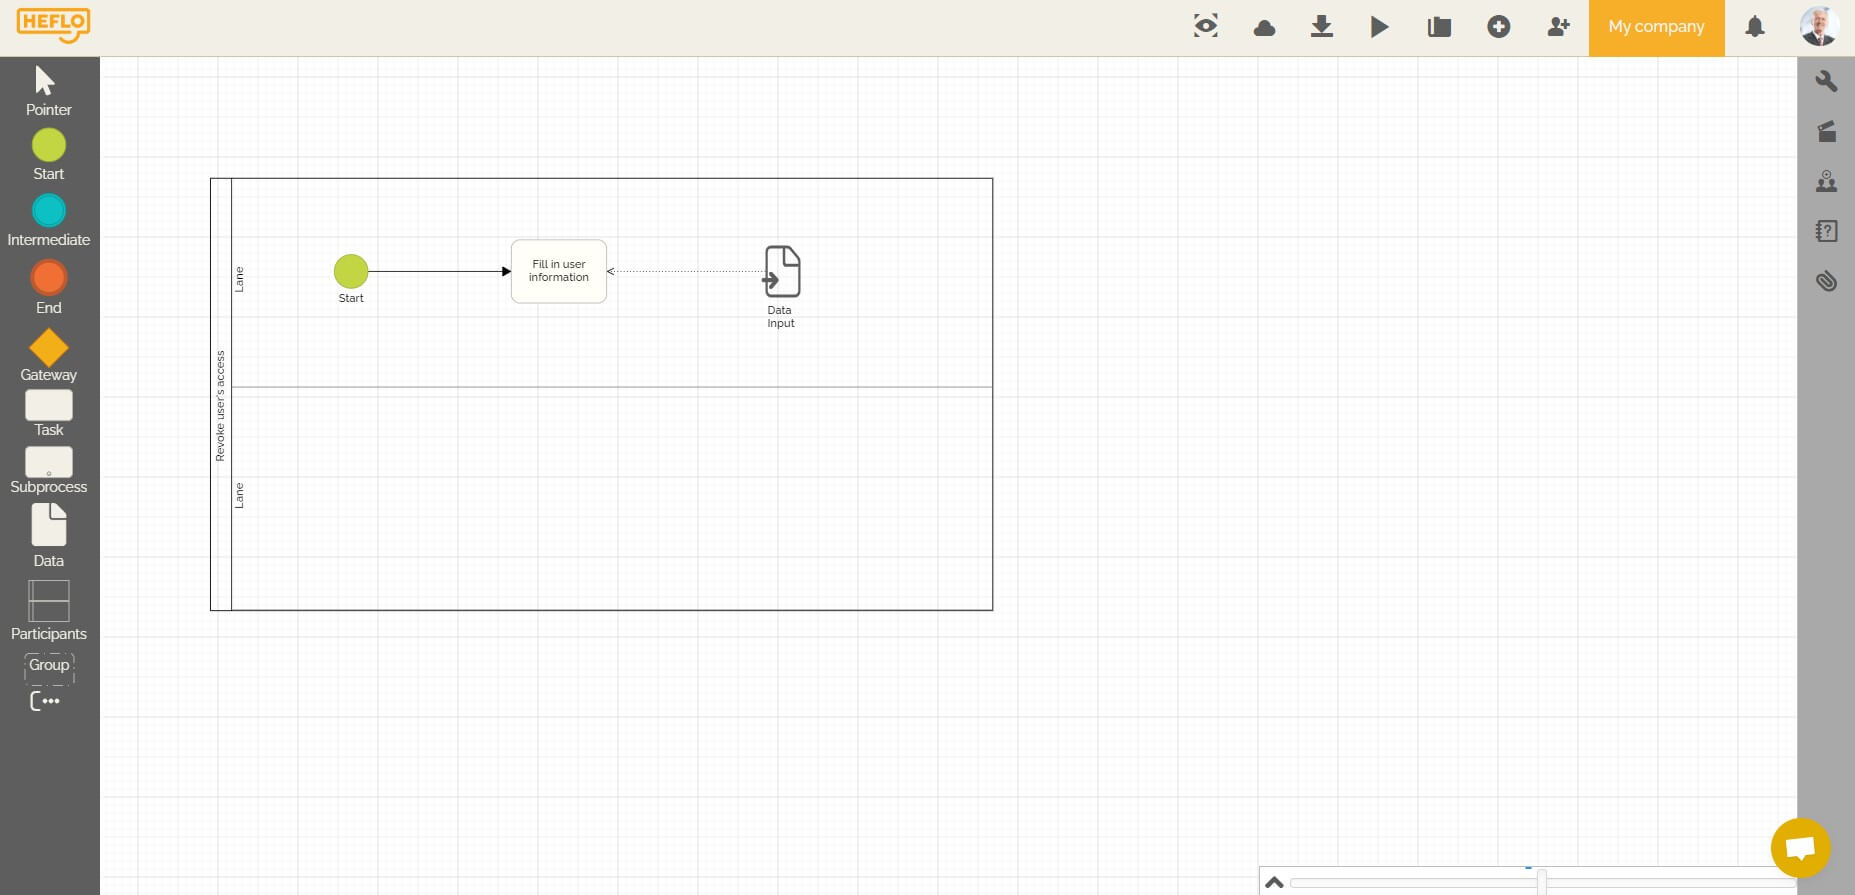
It will be necessary to have at least 2 fields: one corresponding to the name of the user, and one corresponding to his emai.
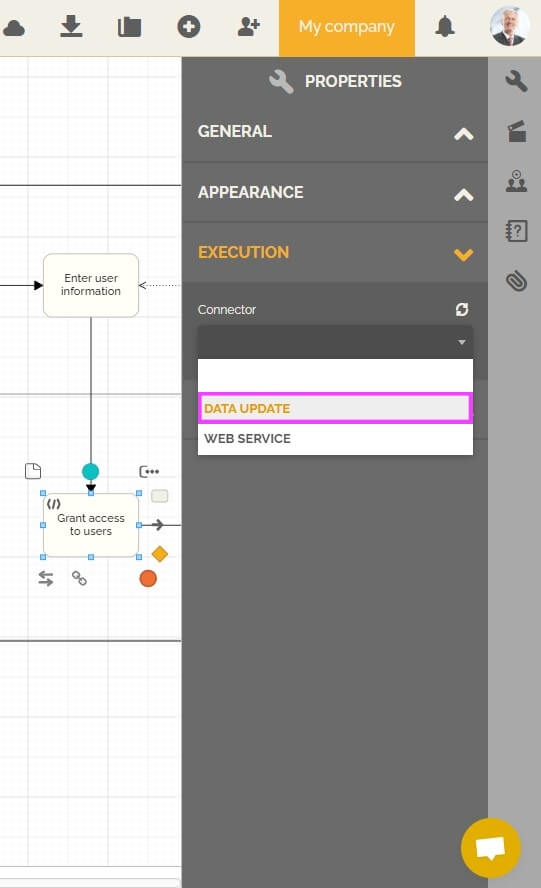
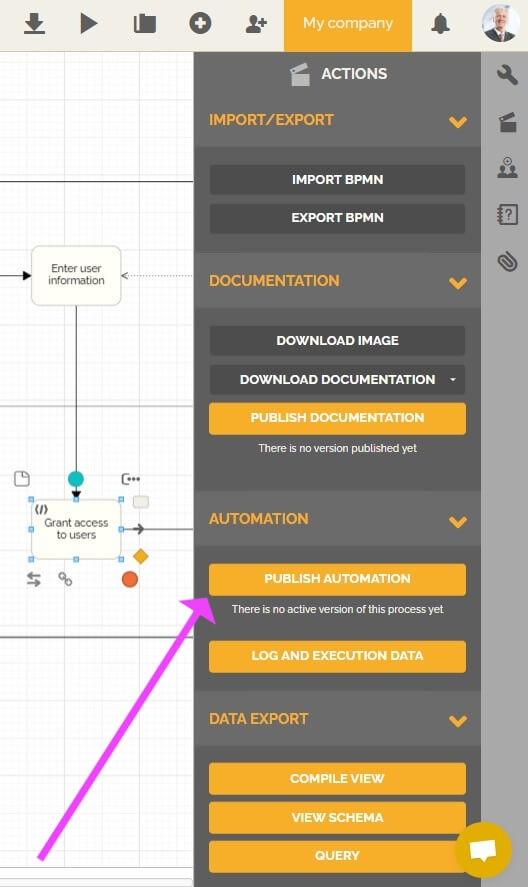
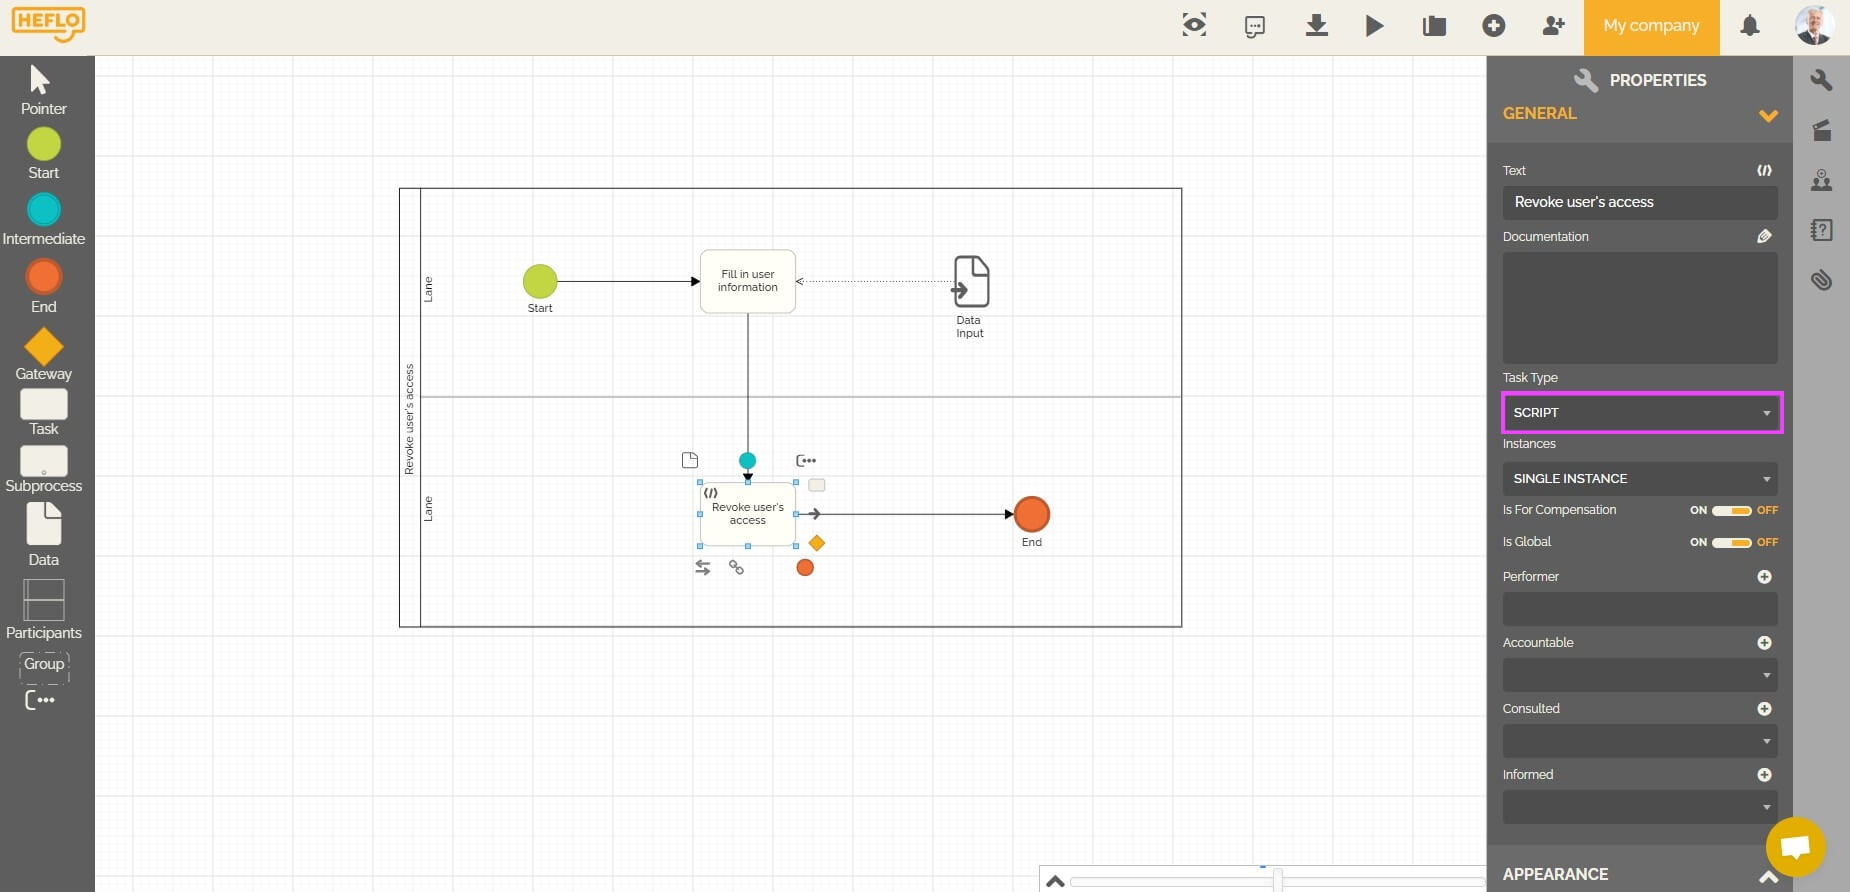
- Add a “script” type task.
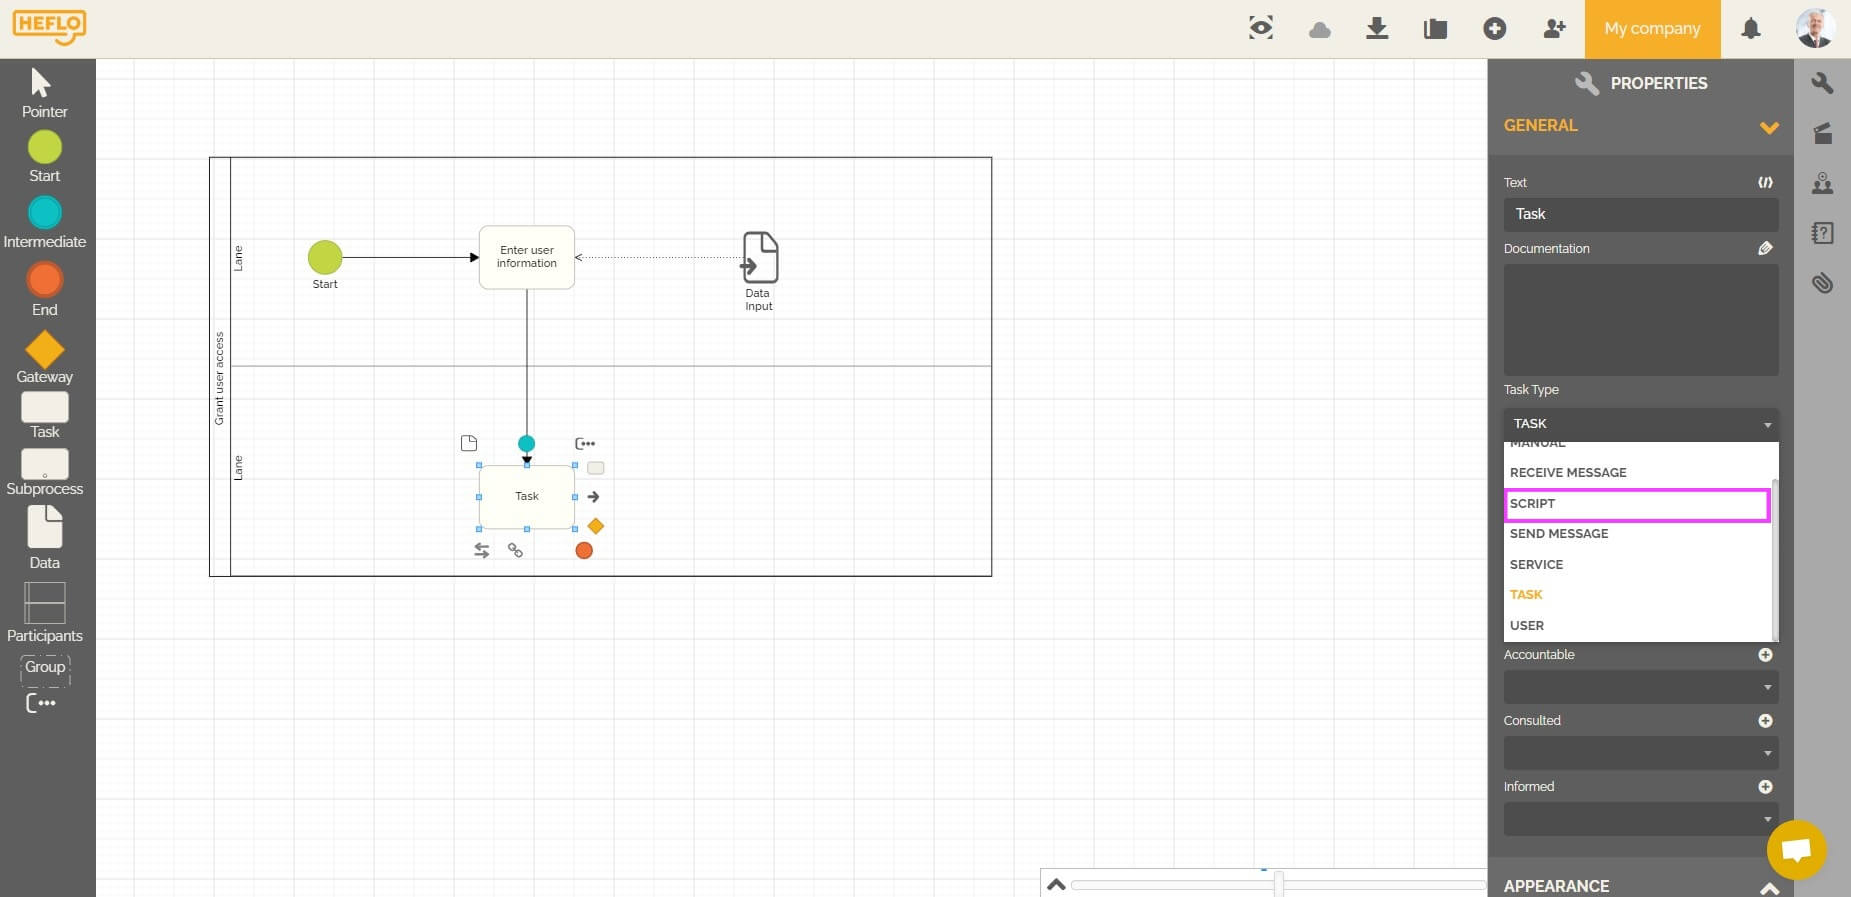
- Select this task and go to the “properties”.
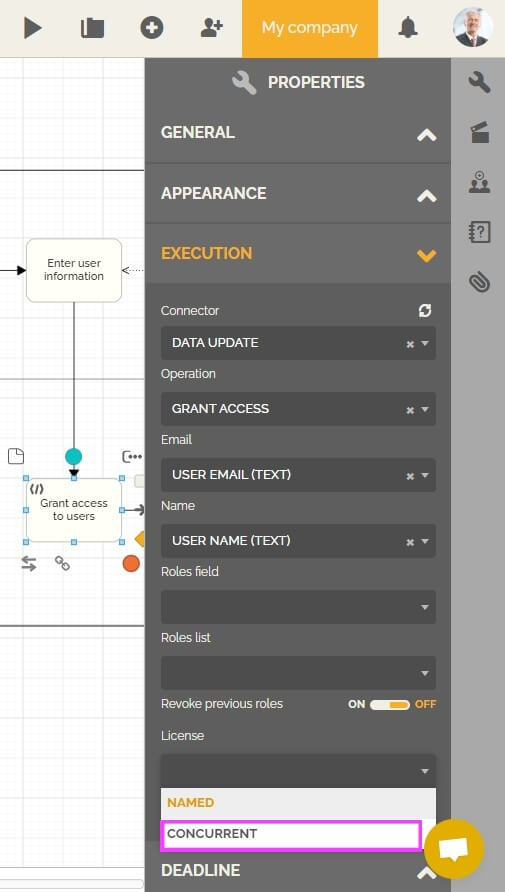
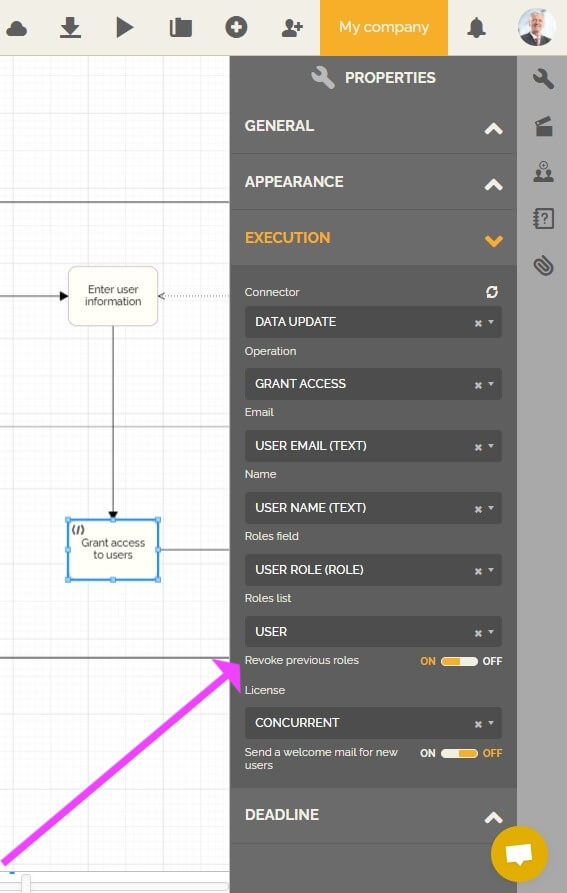
- Go to the “execution” part and choose the “connector” type: “Data update”.
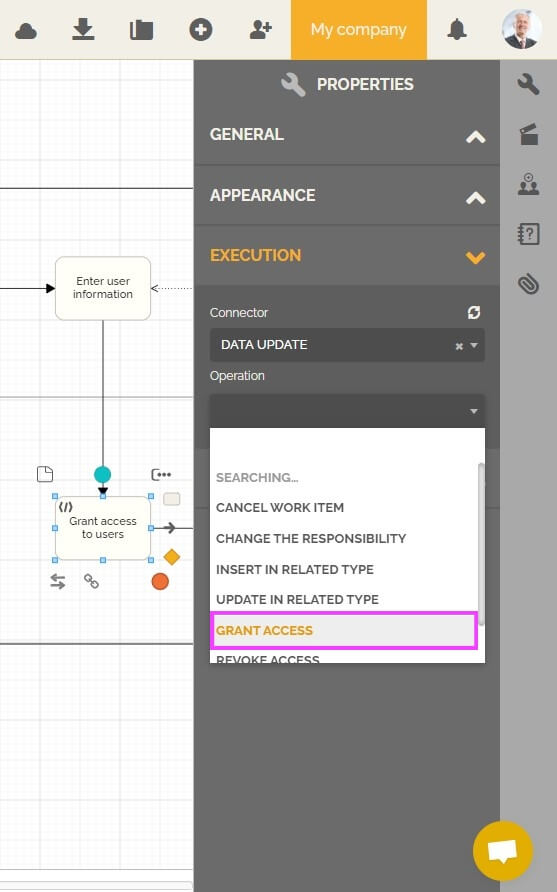
- Go to the “Operation” part and choose “Grant access”.
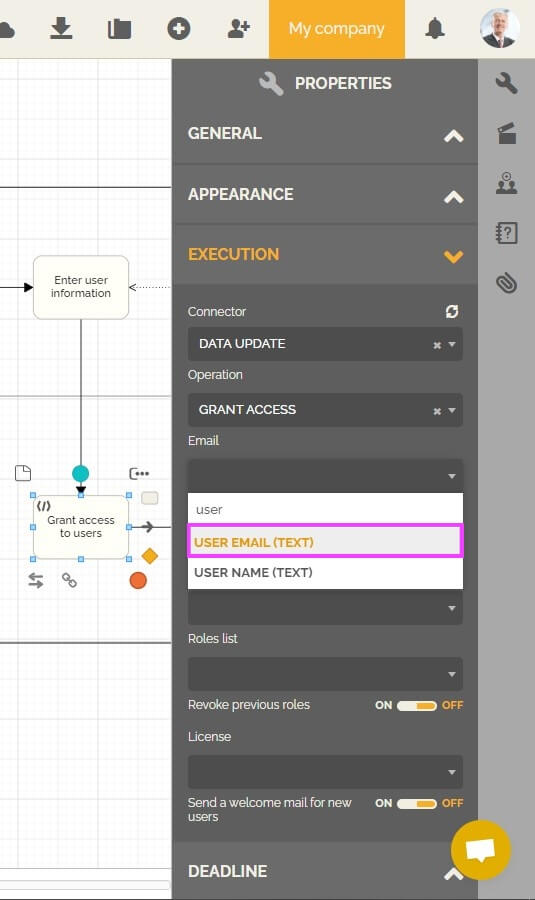
- In the “Email” section, choose the field that will be used in one of the process forms to inform the user’s email that will be created.
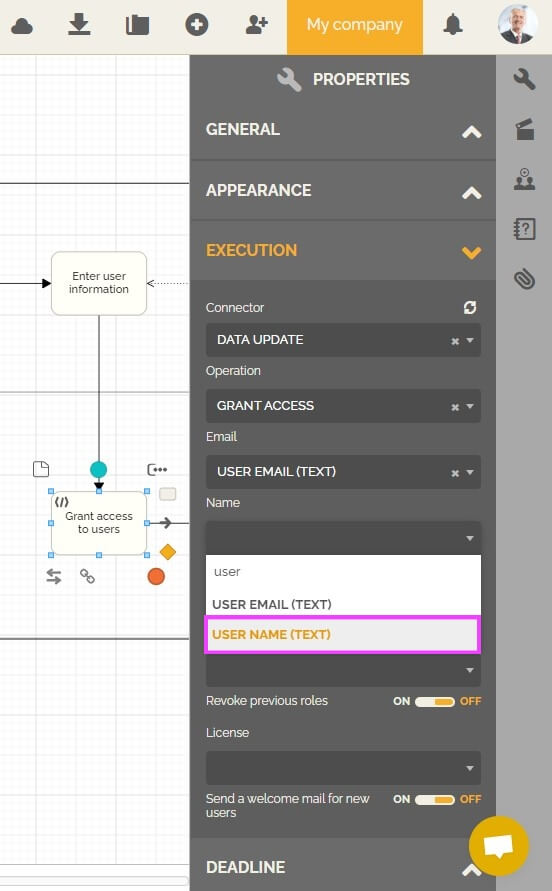
- In the “Name” part, choose the field that will be used in one of the process forms to inform the name of the user who will be created.
 For information: If the added user already has a HEFLO account, then the system will keep the name associated with this user and will not take into account the informed name in the work item of this process.
 - In the “License” section, choose the type of license that will be associated with this user.
 For information: If you choose: “concurrent license” and the added user already has a HEFLO account and owns a named license on another environment, then the system will keep this license associated with this user and will not associate concurrent license to that user.
To learn more about licenses: Licenses on HEFLO - Choose a defined role from the list of the “Roles list” element if each user created by this process should have the same role.
 If the associated role depends on the user created, then you must modify the configuration of your process:
- Go to the form that contains the fields that represent the user’s name and email.
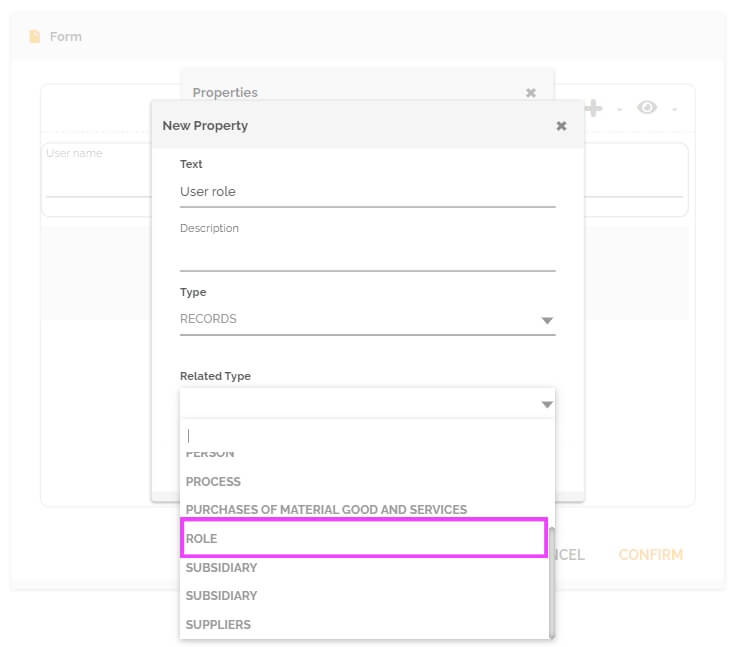
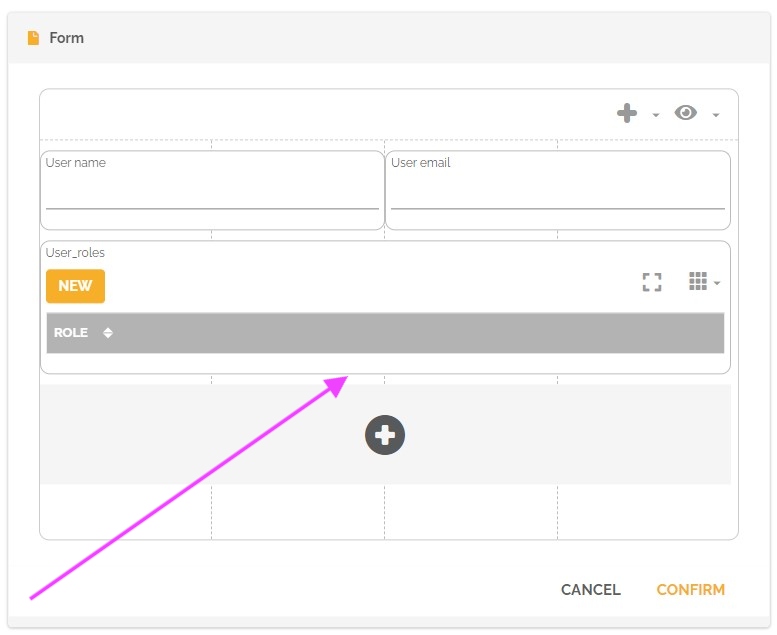
- Add a “records” type field and choose the “roles” record.
 From that moment, it will then be possible to choose a specific role for the created user.
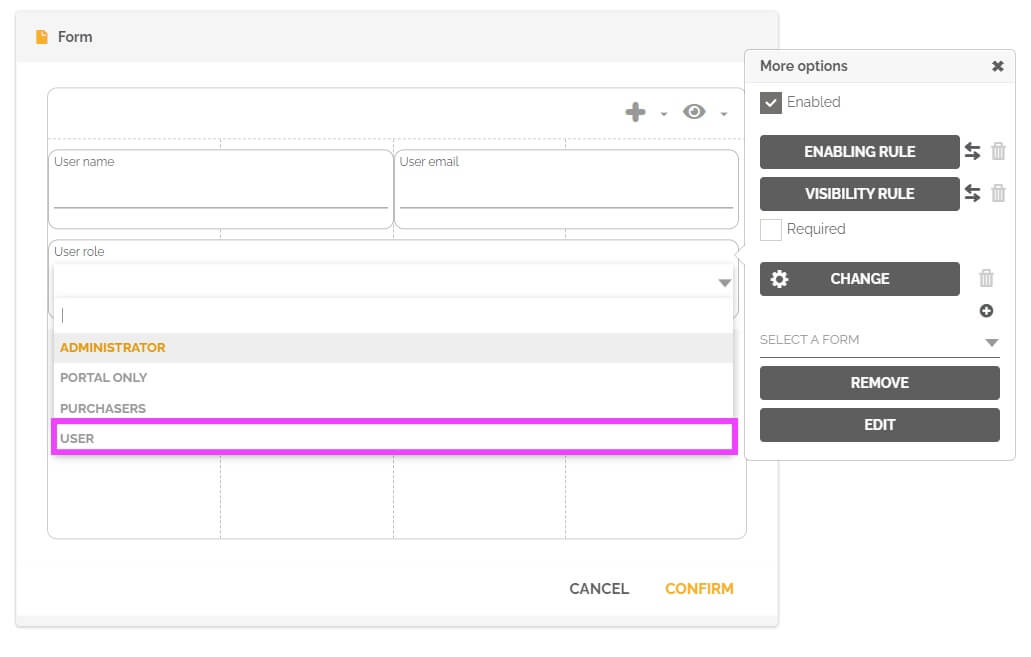 If you want to add several roles for this user, you will then have to add a “record list” type field in place of the previous field.
 In this field, you will then have to add a “records” type property and choose the record: “roles”.
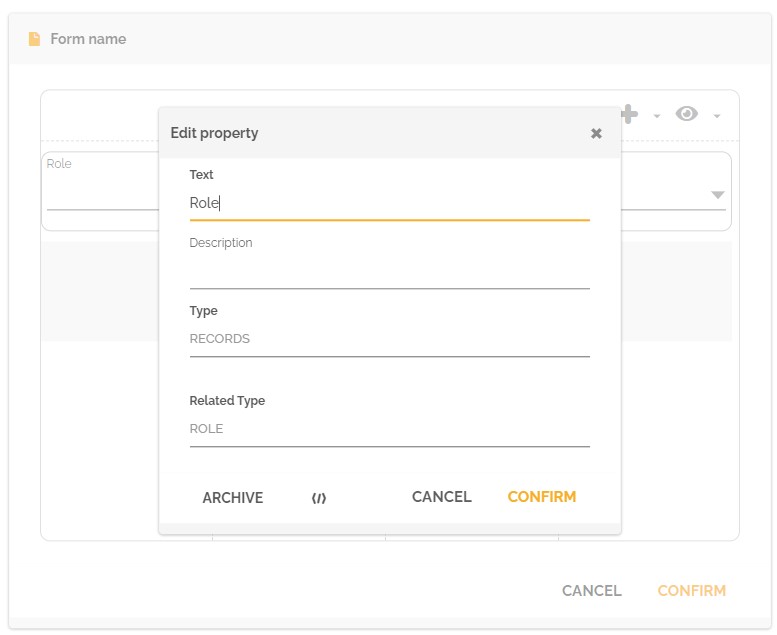
From that moment, it will then be possible to choose several roles for the created user.

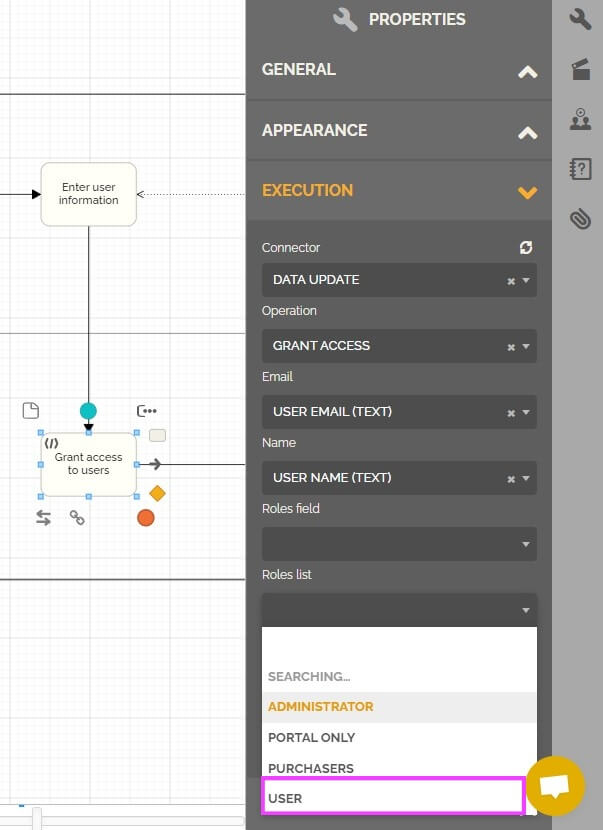
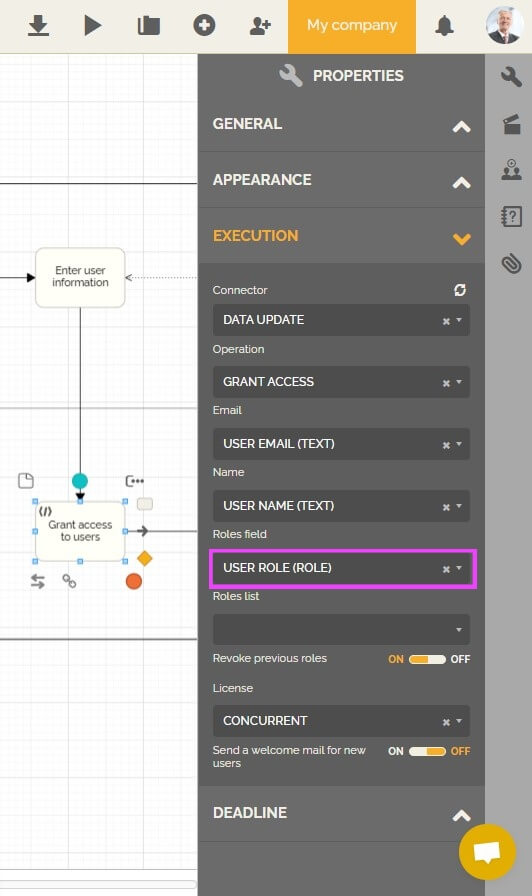
- Do not put anything in the field: “Roles list” in the task properties and go to “Roles field” and choose the field that will be used in one of the process forms to inform the role(s) of the user that will be created.
- Go to the form that contains the fields that represent the user’s name and email.
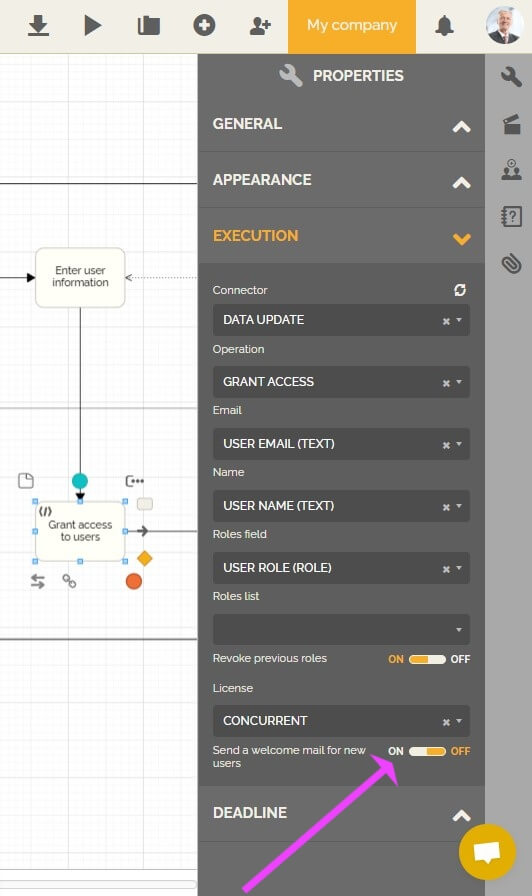
- You can activate the “welcome mail” option if you want the created user to receive a welcome email with a link to access this environment and to personalize his password.
- You do not need to activate the “revoke previous roles” option, we will see this option later in this article.
- Publish the automation of this process.
From then on, users who create work items from this process will then be able to create a user in the relevant environment.
How to configure a process to modify the license or the role of a user in an environment?
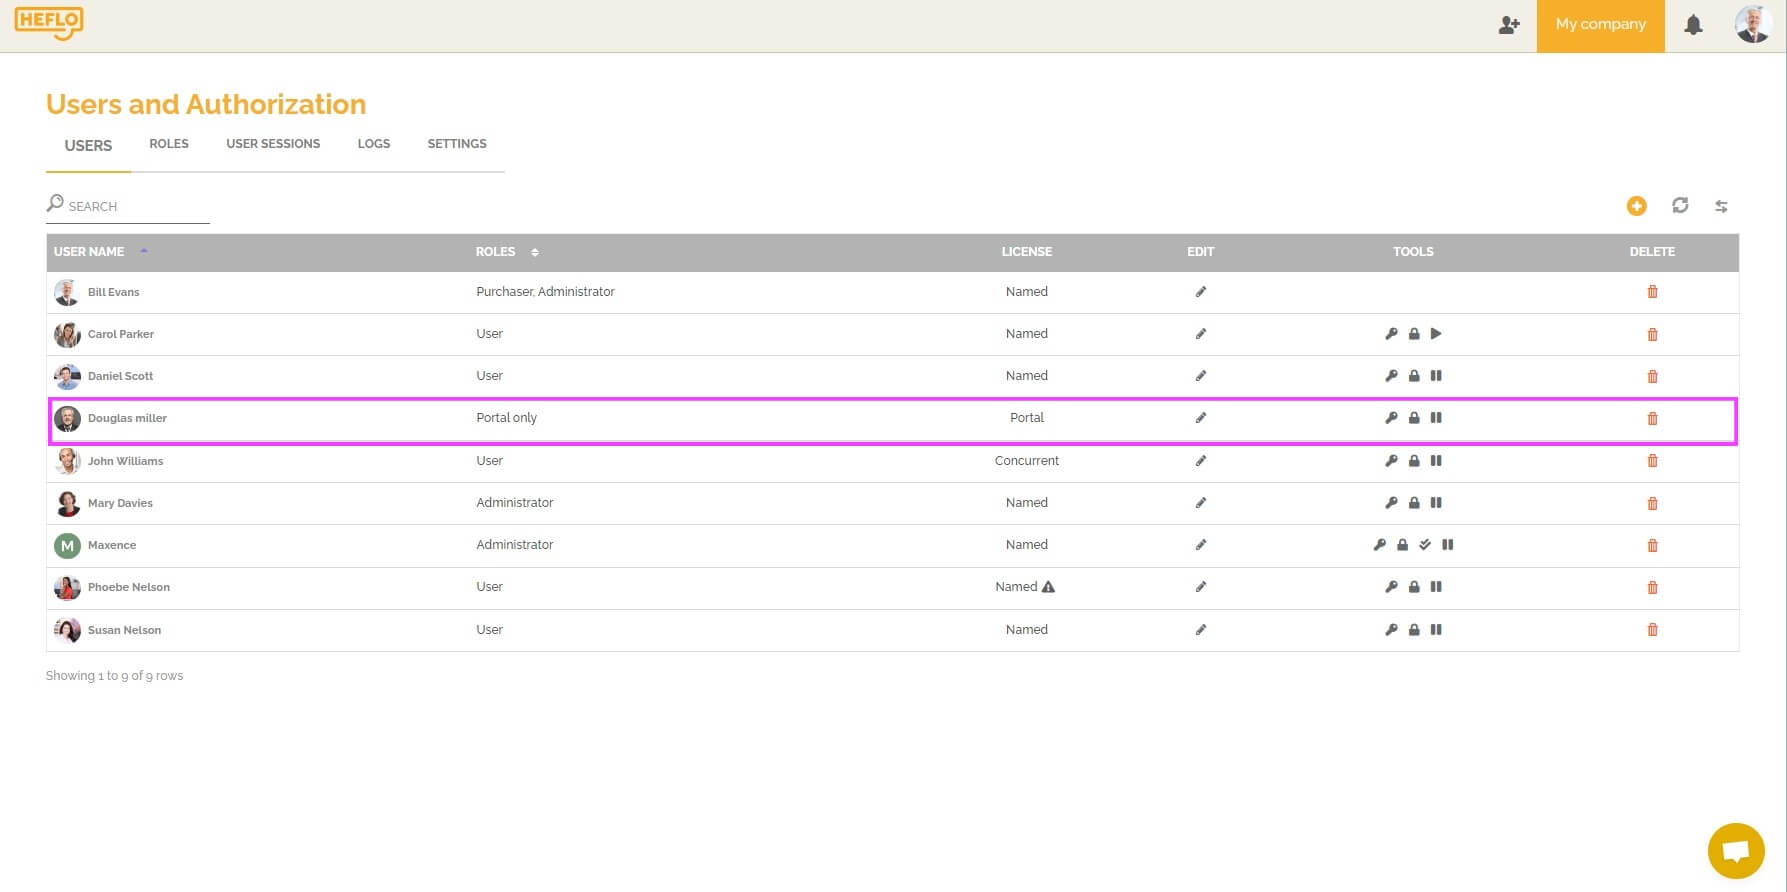
You must create a process by following the steps explained previously. If the email entered in the relevant field during the execution of the work item corresponds to a user in your environment, then the system will update the information concerning roles and licenses.
For information: If you want the execution of the process to replace the existing information of a user on the role(s) associated with it, then you will have to select the script task and go to the properties. In the “execution” part, you will then have to select the option: “revoke previous roles”.
From then on, users who create work items in this process will then be able to update a user by replacing the data on the roles that concern him.
If you want this role update not to replace the roles but to add them to the existing roles, then you must deactivate the “revoke previous roles” option in the “execution” part.
How to configure a process to revoke a user from his environment?
- Go to the process editor.
- Create or choose the process that will revoke the user.
- Choose a task and add a form that will contain the field that the user will fill in to give the information of the user concerned. It will be necessary to have the field corresponding to the email of the user.

- Add a “script” type task:
- Select this task and go to the “properties”.
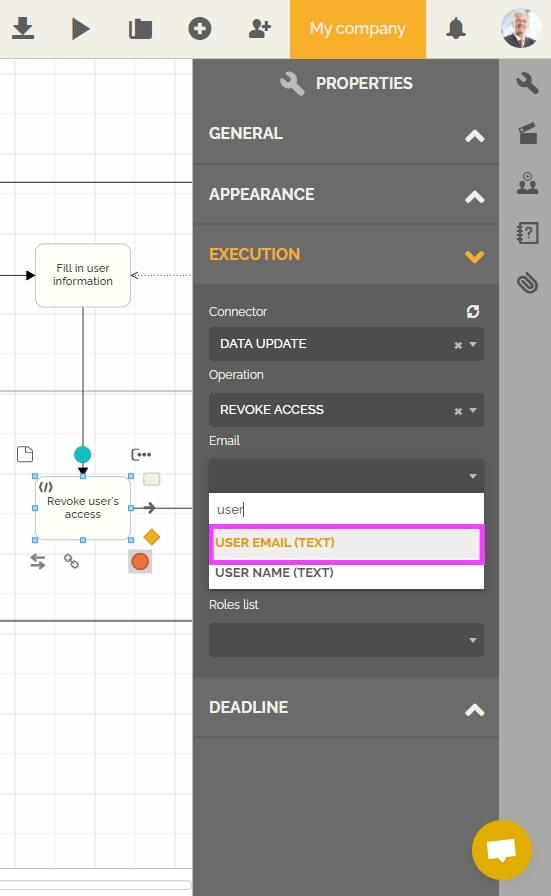
- Go to the “execution” part and choose the “connector” type: “Data update”.
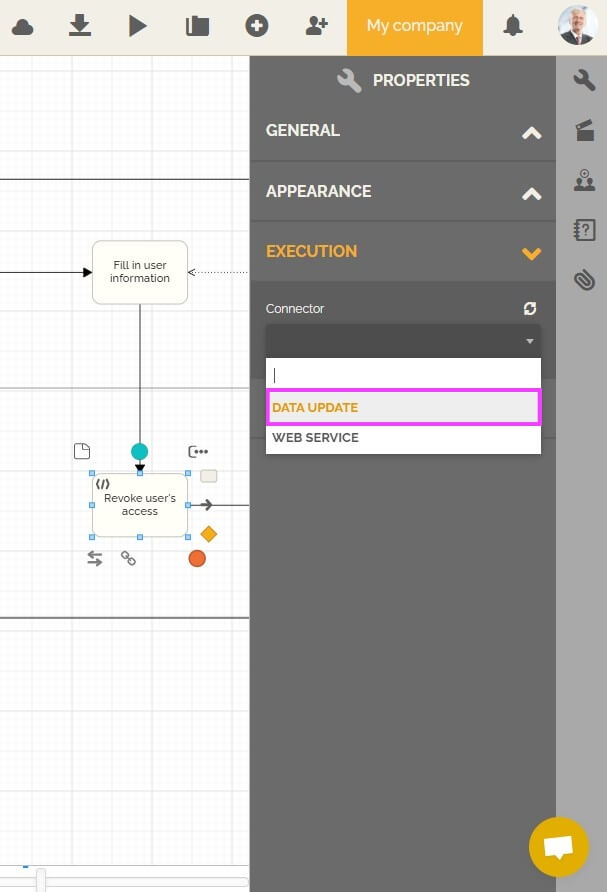
- Go to the “Operation” part and choose “Revoke access”.
 Select the “Revoke all authorizations” option to be able to revoke the user.
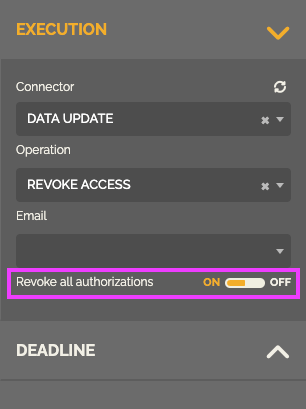 If you do not select this option then you can choose to revoke only roles of one or more users.
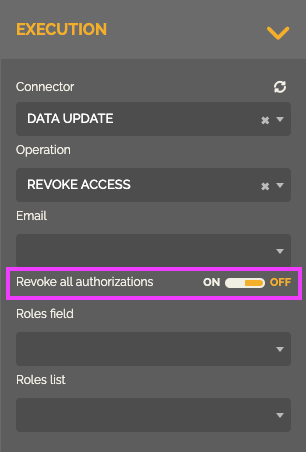
- In the “Email” section, choose the field that will be used in one of the process forms to inform the email of the user who will be revoked.
- Select this task and go to the “properties”.
- Publish the automation of this process.
From then on, users who create work items from this process will then be able to revoke a user from the affected environment. The user will still be in the list of people in the environment but he will no longer have access to it.