
One of the most common needs, when we are automating business processes, is sending notification by email.
You can send emails using your processes through send message events: intermediate events and end events. In this article, we show you how to send emails using the Message intermediate event with the HEFLO mail connector.
Before adding the element make sure that the process has the automation enabled. To do so, either click outside the pool and go to the properties tab, and turn the switch of automated process on, or from actions tab click on “Enable automation”.
- Add the “Message” intermediate event, located in the BPMN toolbox on the left.
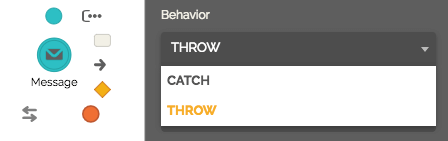
- Select the element, access the properties tab on the right side, and change the “Behavior” attribute to the “Throw” option. See that now the envelope is full ( in Black).
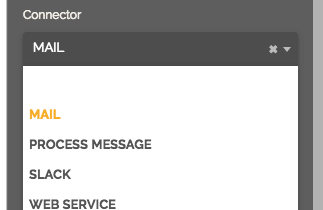
- Select the “Mail” option in the “Connector” section.
- Set up a “Message template” for the event: Add an existing message template from the list.
 or create a new one by clicking on the “+” button.
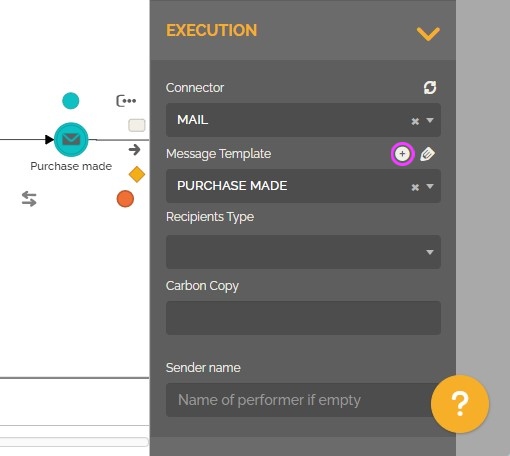
To learn more about email templates: Creating email templates and attachments. - Add recipients to the message by filling in the “Recipients Type” property, from the options you can choose:
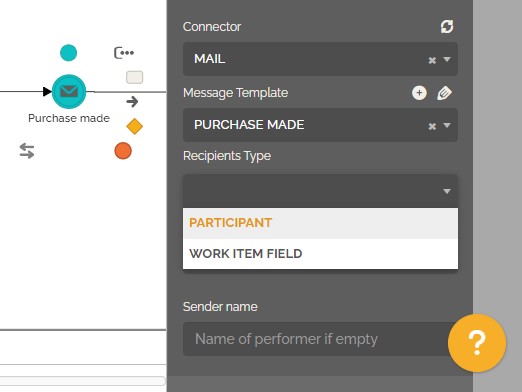
- Participant: To reach out the mailbox of a participant. In this case you need to select a participant from the list by clicking on the downward arrow,
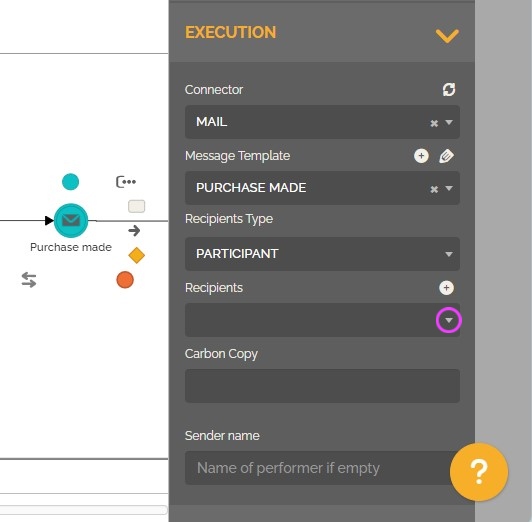
or create new participant by clicking on the “+” button.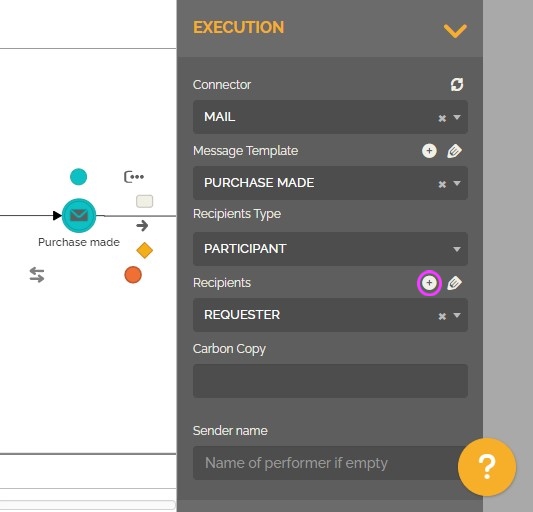
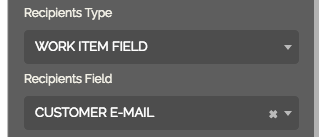
- “Work item field”: define the field in the work item that contains the desired recipient email. This option is commonly used to select a field previously entered in the same process.
- Participant: To reach out the mailbox of a participant. In this case you need to select a participant from the list by clicking on the downward arrow,
- In the “Carbon copy” field you can include one or more emails separated by semicolons.
 You also can insert a dynamic content by adding “:”.

- Fill in the “Sender name” field, the information provided will determine the name of the sender of this message when it is sent during the execution of the process.
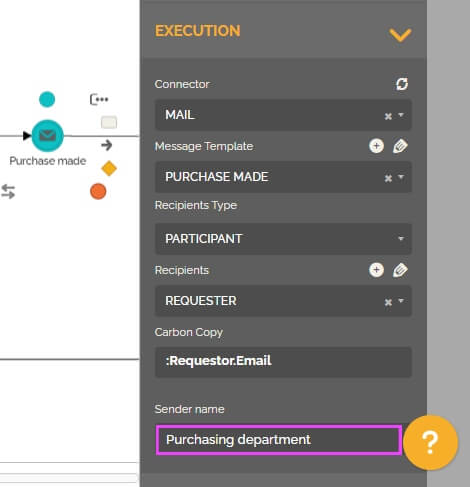
If you keep it empty, then the system will use the participant definition of the lane as the sender name of the sent message. To learn more about this feature: Sender name. - Complete your process and test it. During the tests, all messages will contain the prefix “Test” in the subject and will be sent only to the user who is testing.
- Once finished, publish the process automation.
- Now whenever you run an instance of your process, and the execution reaches the send message (either intermediate send message or end events), the email then will be delivered to all participants assigned in the configuration of these events.
See also: How to perform process automation tests.