
You can check the validity of the information filled in the form fields through the validation feature.
Validations are executed as soon as the user attempts to advance a work item task.
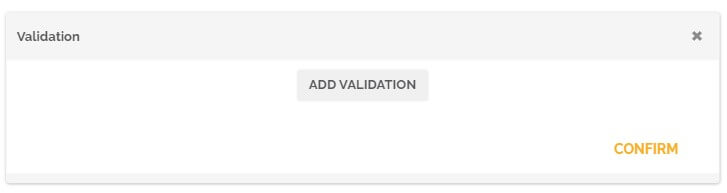
To configure the validations, select the task output flow in the form and in properties click on ‘validation’.

In the window that opens, click on “Add validation”.
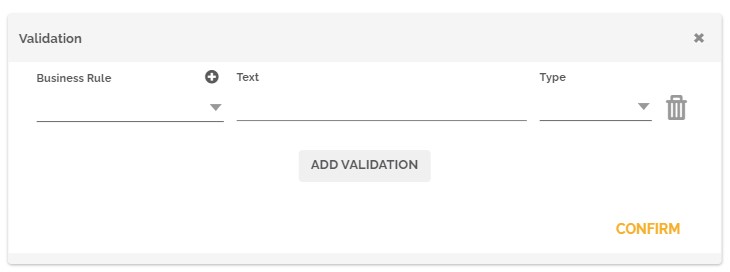
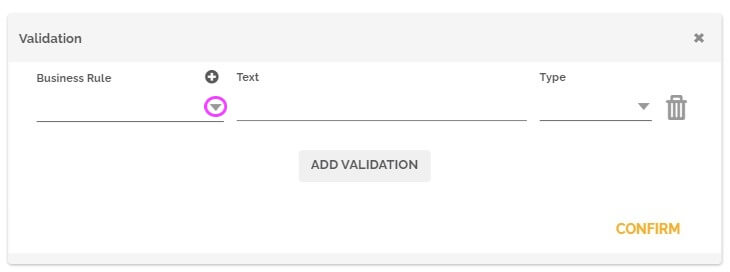
Then select a rule for validation by clicking on the arrow,
then on the pencil icon if you want to to edit it,

or create a new business rule by clicking on “+”.
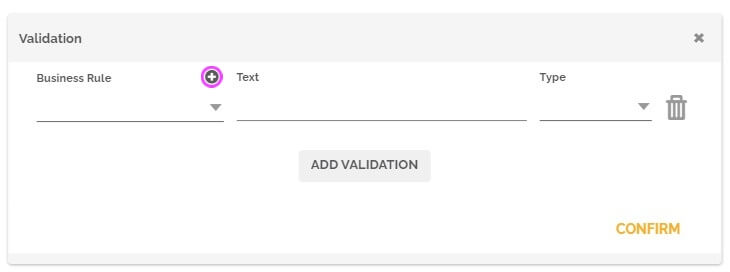
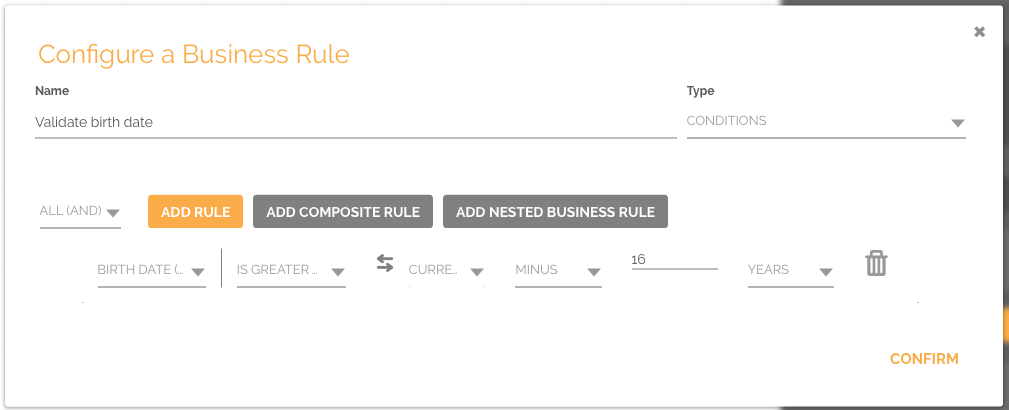
Learn more about creating business rules: Introduction to Business Rules
Then click on confirm in the ‘Configure a Business Rule’ window.
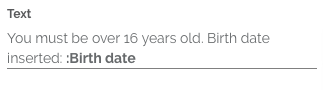
In the ‘Validation’ window, for the ‘text’ field, enter the message that will be displayed to the user when that rule is not validated. You can add dynamic content in this field by adding “:”.
In the field ‘type’ define what the format of control will be:
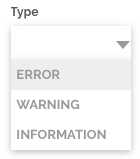
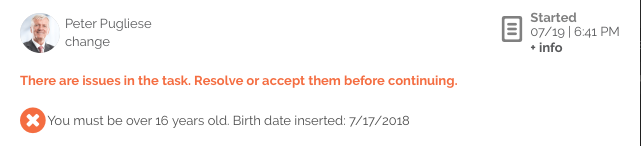
‘ERROR‘, the user can only advance the task when correcting the error indicated in the validation.
‘WARNING‘, the user can only advance after selecting the acceptance check.
![]()
‘INFORMATION‘, the user can advance the task normally but a warning message will appear before.
![]()
After setting the configurations, do some tests in the editor to validate the behavior, see more at How to perform process automation tests.