
HEFLO allows you to create groups that work as shared boxes, meaning that everyone involved sees the shared work items and can take responsibility. You can also configure this group to be the performer (person responsible) of a task or process lane.
Creating groups in Workspace
It’s necessary to have an administrator profile to perform the following actions.
Let’s demonstrate how to create a group through the Workspace. Access your Workspace screen.
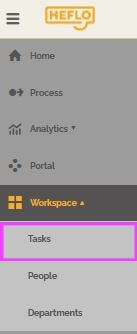
Click on “Manage groups” in the top menu on the right of your screen.
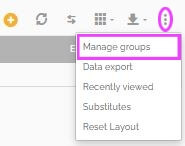
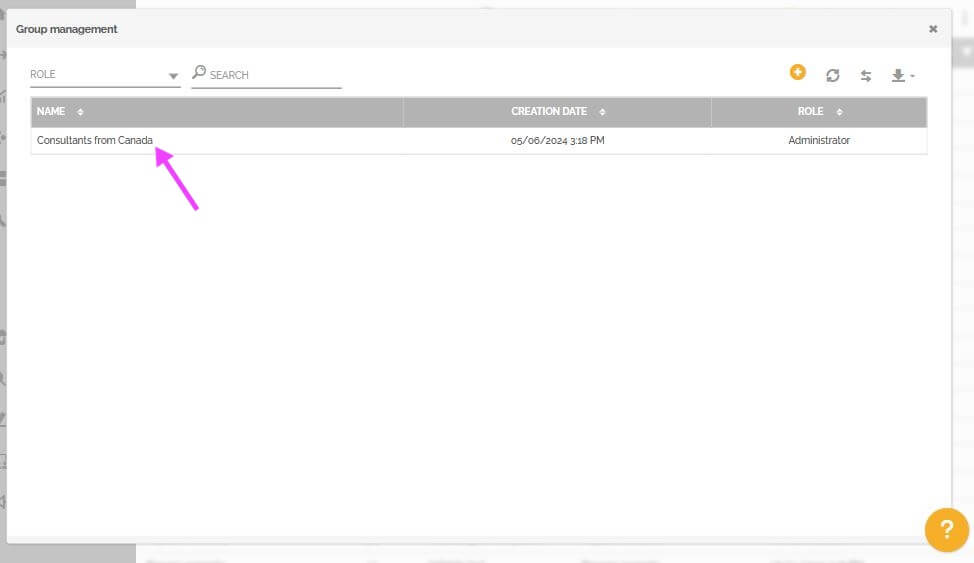
In the window that will appear, click on the + icon to add a new group.

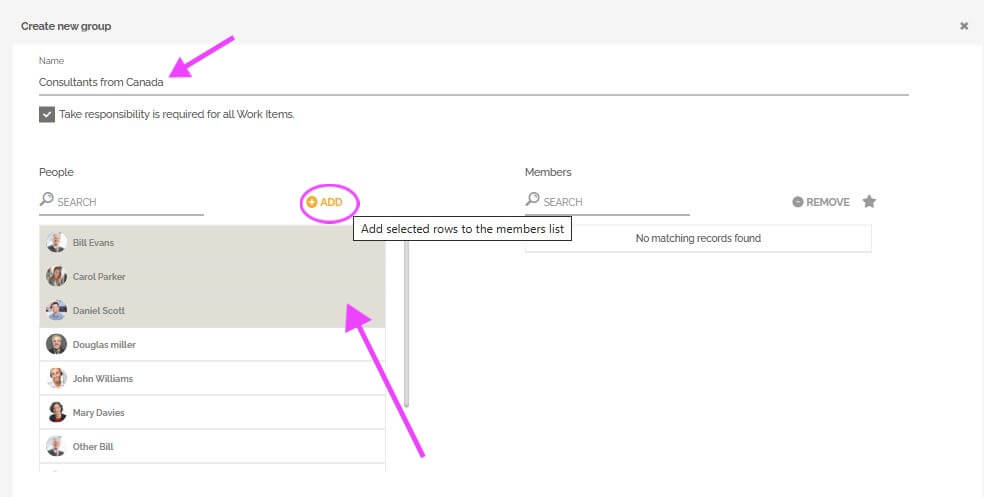
Enter a name for the group, define whether it’s mandatory to take responsibility for all items that are forwarded to it, select the people, and click on “Add” to set them as members of the group.
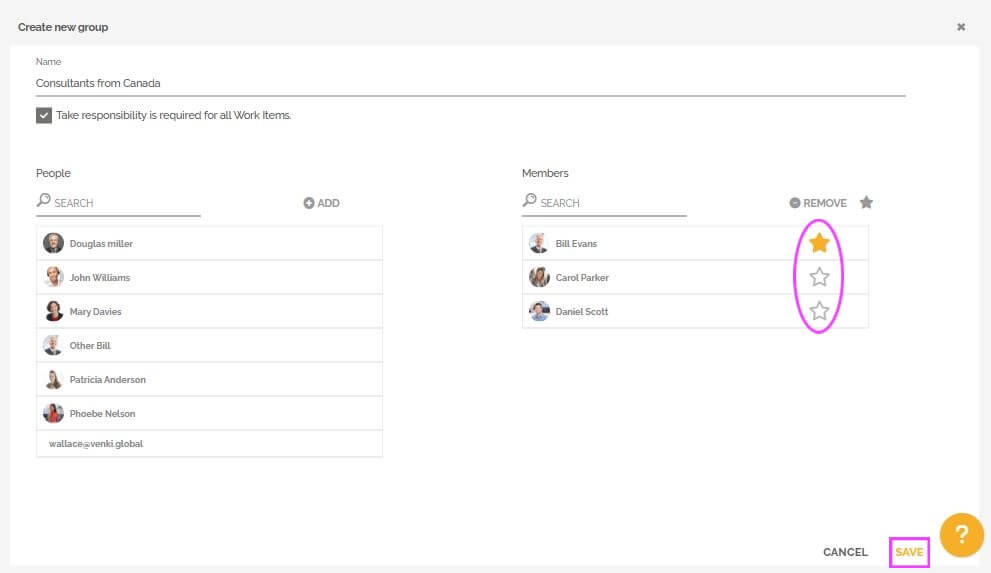
The full or empty star defines whether that person is only a member (empty), or will be an administrator (full) of that group. Click on “Save” to finish creating your new group. Note: Only administrators can change group memberships.
Your new group is now created. Note: To remove a member, simply select the member and click on remove.
Filtering group work items in Workspace
When you’re in a group, you have new options in the Responsibility filter in Workspace.

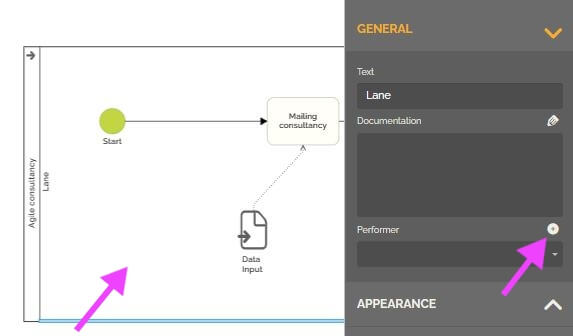
Setting up a group as a performer
Select the desired task or lane, and in the properties tab click on + to add a new performer.

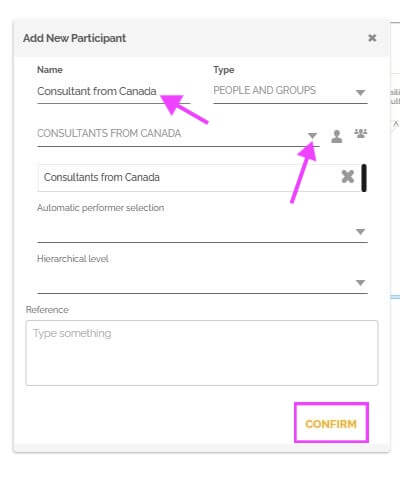
In the window that appears, you can create a new group by clicking on ![]() “Create new group”, but in our example we will only configure a performer based on the group that we already created through Workspace.
“Create new group”, but in our example we will only configure a performer based on the group that we already created through Workspace.
Enter the “Name” of the performer, select the group in the list that we created and click on “Confirm”.
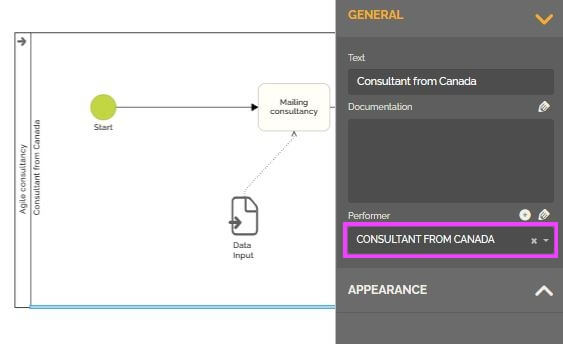
Once this has been done, our new role will be configured for the selected task or lane, so when a work item reaches that performer, all the people in that group can view it and take responsibility.
Groups of departments
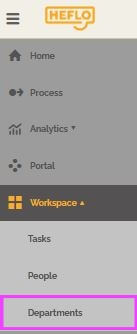
When creating a new department, HEFLO automatically creates a group for it. To create a new department, go to the main menu at the top left and inside Workspace click on “Department”.
On the screen that opens, click on ![]() to add a new department.
to add a new department.
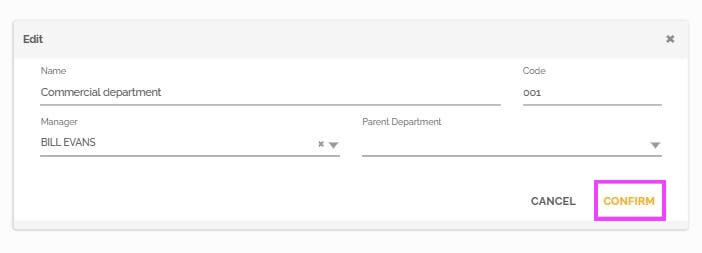
Fill in the fields for the department and click on “Confirm”.
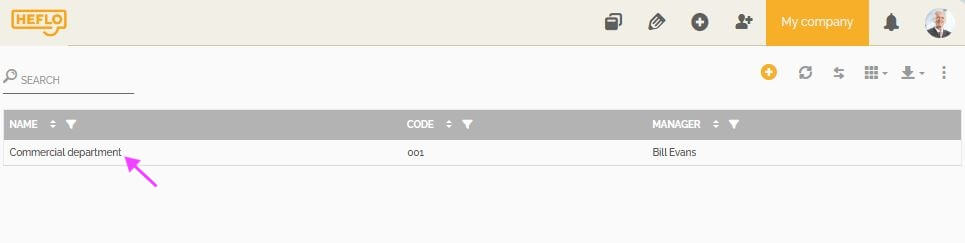
Your new department is now created. To edit it, simply double-click on the record.
Important: Access your Workspace screen and click on “Manage groups”. You will notice that the group of the department that was created doesn’t automatically appear. This is because it can’t have its data changed since it’s loaded with people in the corresponding department.
But when you access the process editor and select a task or lane to edit the performer, you will notice that there is the “Commercial department” group and you can create a performer based on it.