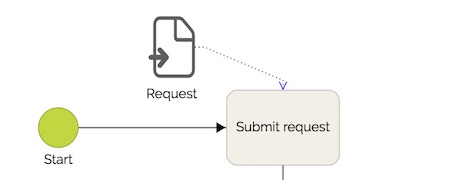
Forms allow users to input data to a process instance and then store this information. In the image below we can see a data input form named “Request” connect to the task “Submit Request.”
Creating a form
- Select the task where the data input element shall be added.
- Click on the form shortcut icon next to the task, then drag and drop it. (The process must have automation enabled to show the form shortcut icon)
- Select the “Data Input” element and click on the clipboard shortcut icon to display the form editor.
To learn how to add multiple forms to a process task: Add multiple forms to a process task.
Editing the form
You can edit your form using a graphic editor. This editor allows including properties and managing the layout.
Just like the processes, all the configuration is saved in the cloud.
Forms layouts are automatically responsive, which means that its layout will adapt depending on the device used.
How to insert properties
- In the form editor, click on the plus icon located at the top right.
- In the Properties list, click on “New.”
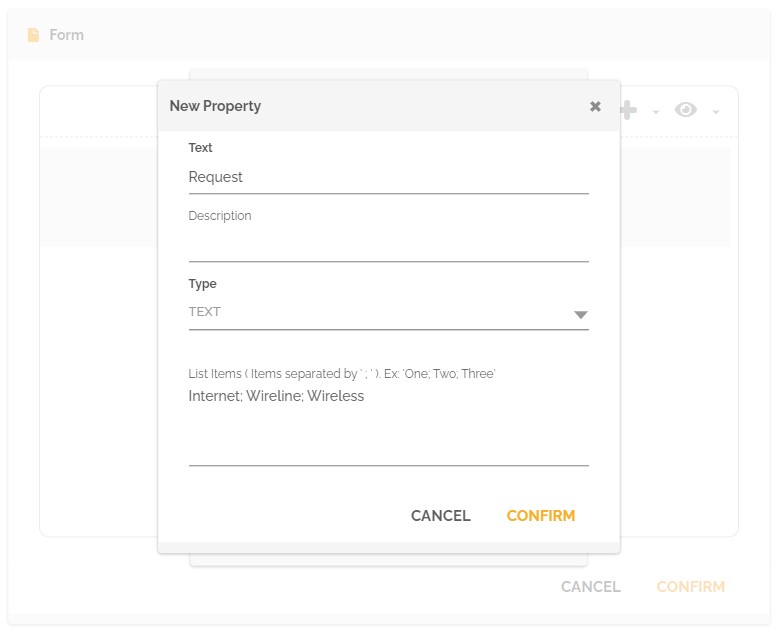
- In the “New Property” screen, type in the new property name and type. Depending on the property type it may be necessary to inform some other properties.
- After configuring your new property click on “Confirm.” The new property should have been added to the form.
When we create a field, the storage settings are defined. Next, we need to adjust display characteristics on the form, such as mandatory data entry options and editing permission.
To make this adjustment, just select the control in the editor and fill in the fields that appear in the dialog with more options on the right. These attributes depend on the data type of the field (a “Text” field, for example, has the “Multiline” attribute).
Note: Each property can be used in all processes.
The Properties screen can also be used to remove or alter the definition of a property.
Text Properties
This type of property allows storing data as text. This text can be inputted/edited as unformatted text or as a drop-down list.
To configure a text property to be a drop-down list you just need to set the “List Items” Option.
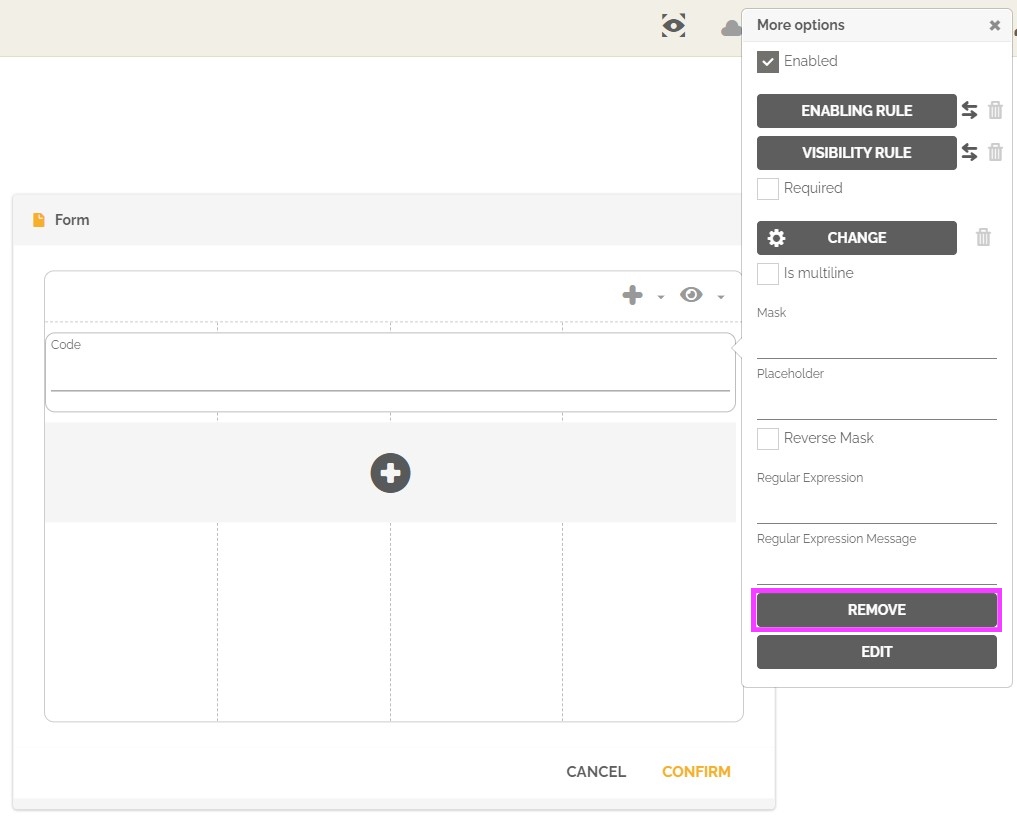
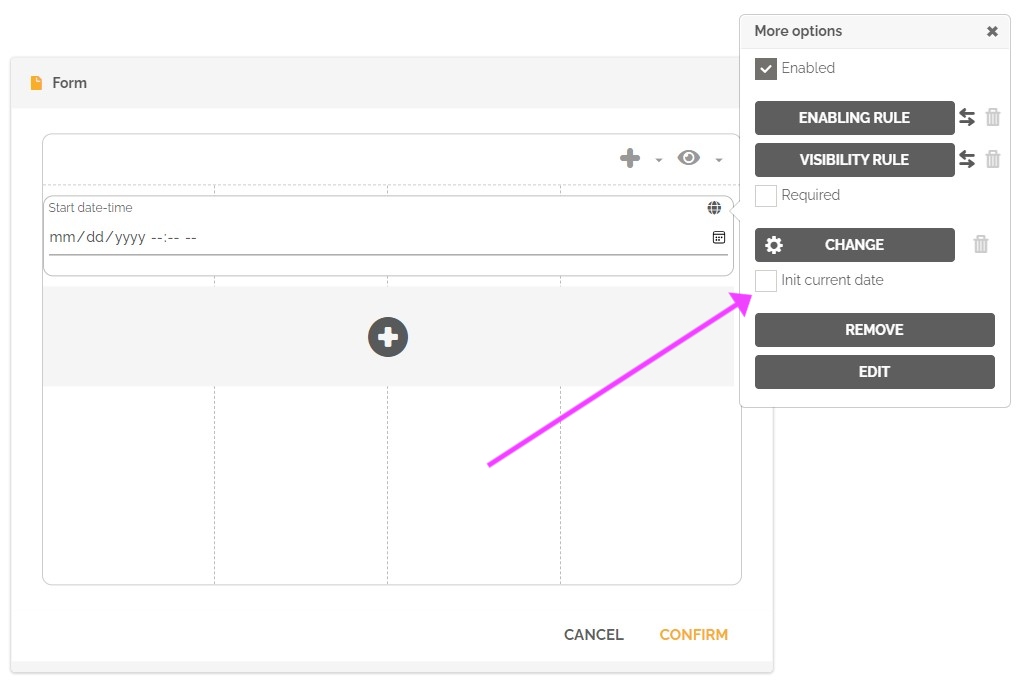
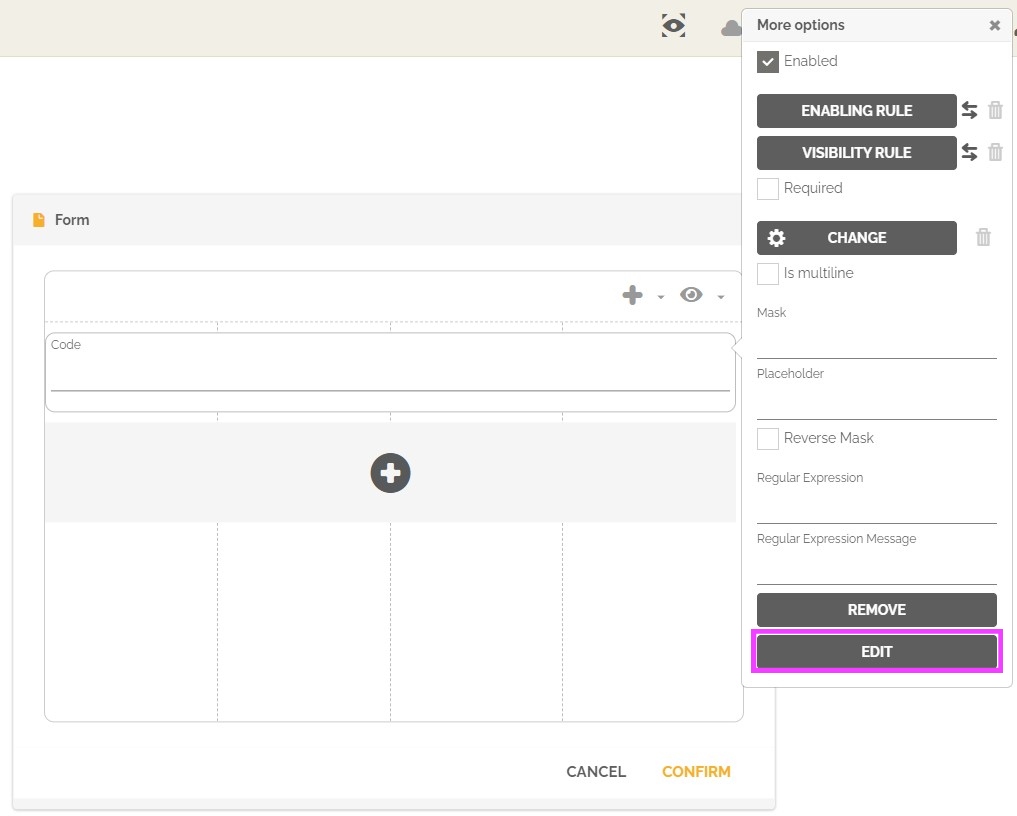
After adding the property to the form, review the viewing options in the “more options” tab:
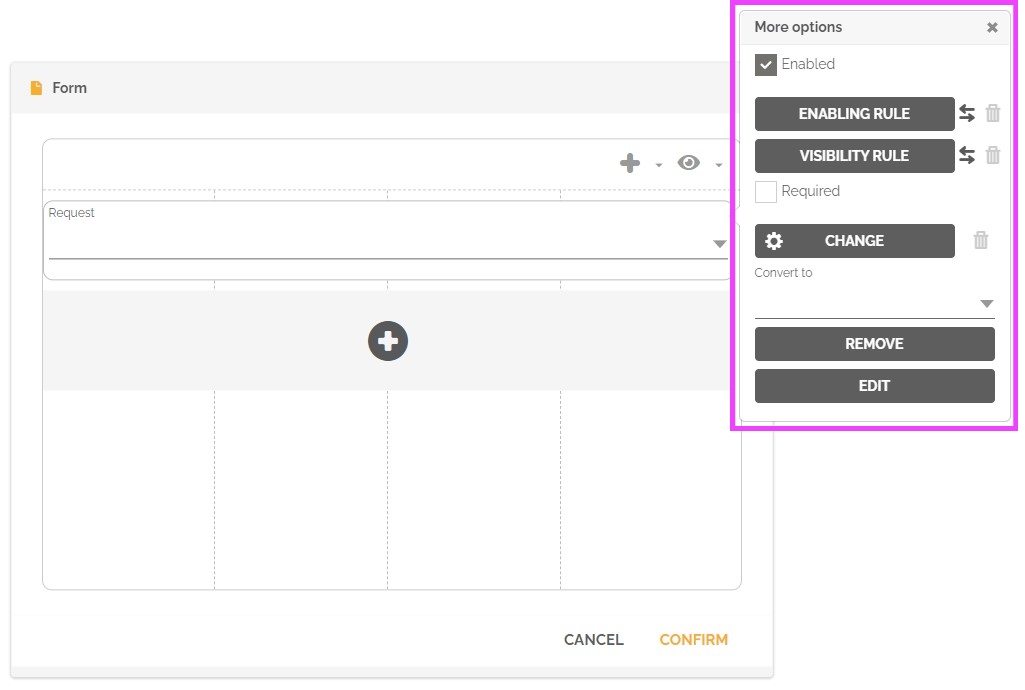
The options available in the “More Options” tab will depend on the property type. For instance, a text property will have the “multiline” option available.
Number Properties
This type of property can be used to store numeric data.
It is possible to configure a maximum and minimum value for the property.
Currency Properties
This type of property can be used to store monetary data. It differs from the number type by its format and by being more precise.
Date Properties
This type of property can be used to store date related data.
Date Time Properties
This property has the same function as the “Date” type, but also allows you to register hour(s) and minute(s).
In the more options tab, you can define that the field will init with the current date value.
Important: HEFLO uses the time zone configured on the “Manage Environment” screen.
Time Properties
This property type can be used for storing hour(s) and minute(s).
Logic Properties
This type of property stores a boolean value and is typically edited by check type controls.
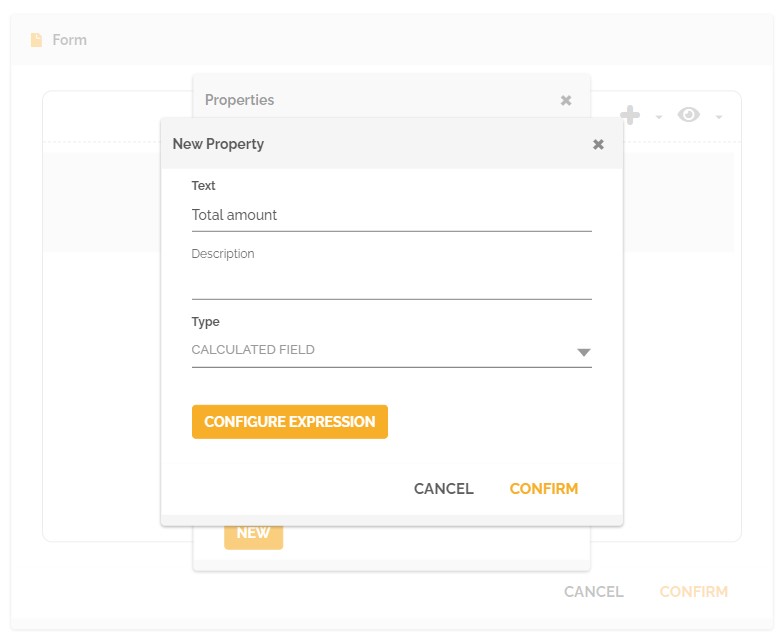
Calculated field Properties
This property type can be used for storing pre-calculated values.
- Select the Calculated Field type.
- Click “Configure Expression” to create the expression.
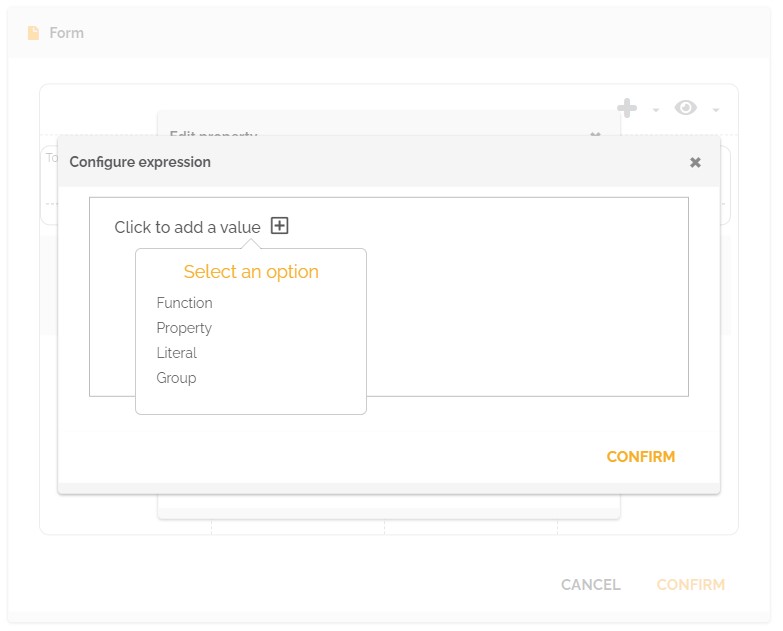
- Configure the expression by clicking the + icon.
Records Properties
This type of property is used to store data related to some records maintained in a data store of your implementation.
You can, for example, create a “Demand types” record, keep this data on a specific page and use the data as the items source in a combo box on the form. See How to create a record.
Record List Properties
This type of property is used to store data in a spreadsheet format. See Working with record lists for more information about record lists.
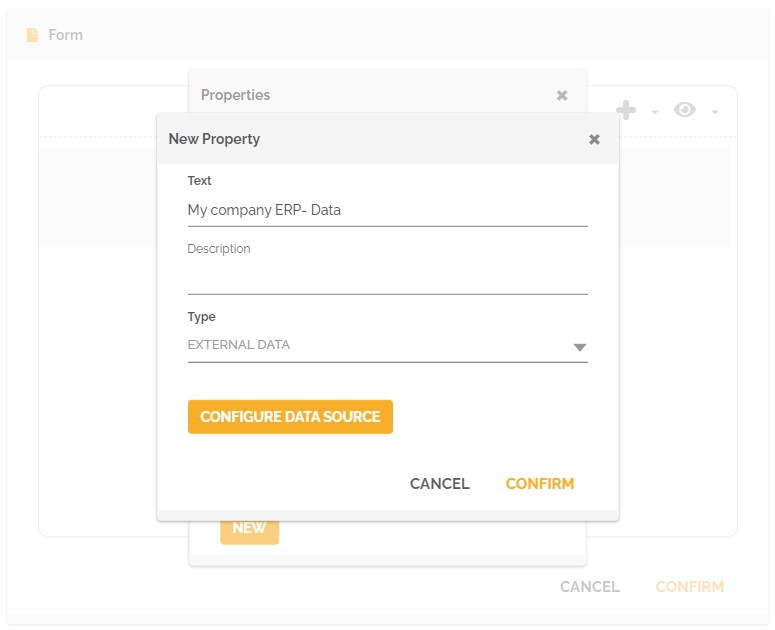
External data Properties
This type of property can be used to store data that has information from other systems through Web Service integration.
- Select the External data type.
- Click “Configure Data Source.”
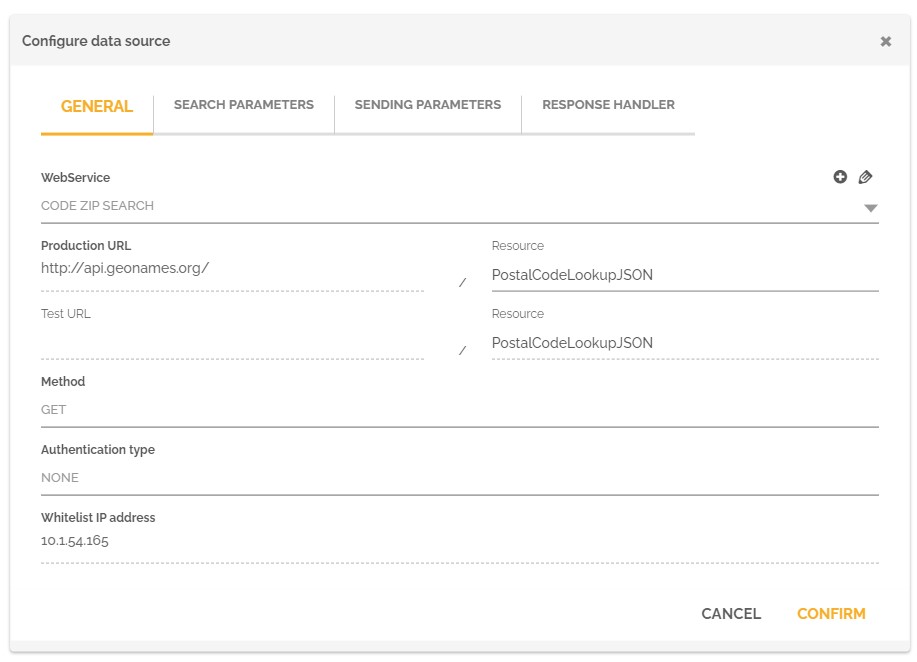
- Fill in the parameters of the “Configure Data Source” window.
- On the ‘General’ tab, complete the main integration information.
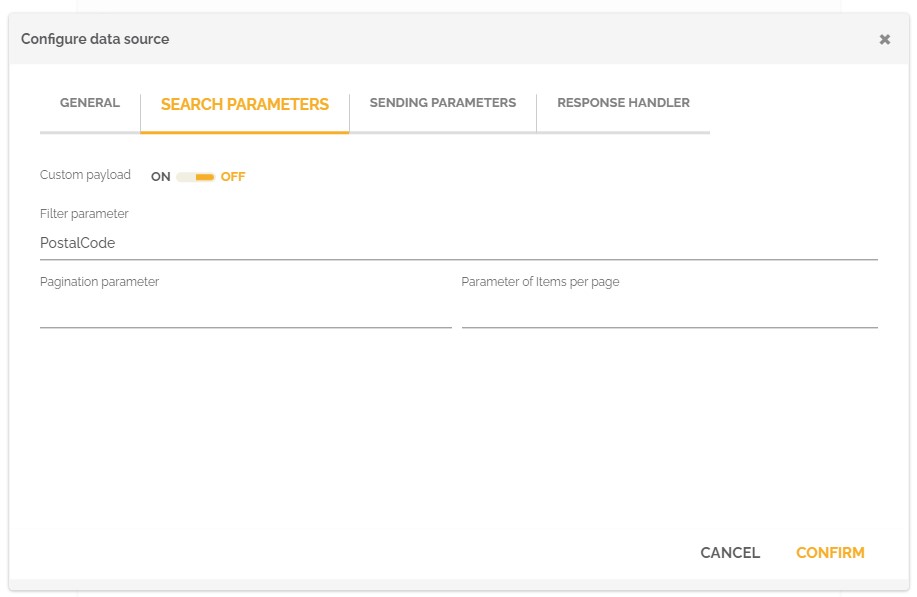
- In the ‘Searching Parameters’ tab, fill in the parameters that will influence the search when searching in the item list field.
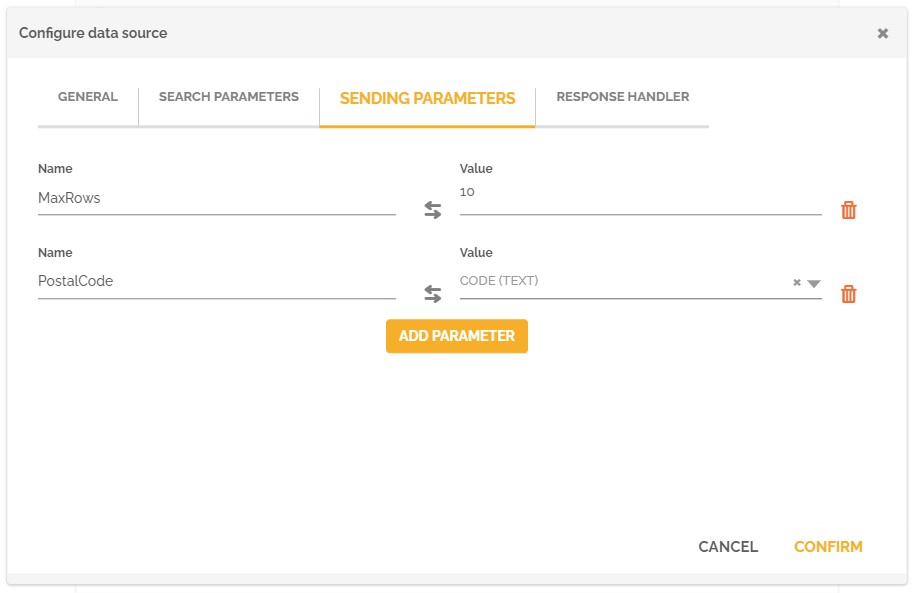
- ‘Sending Parameters’ are the parameters sent in the call.
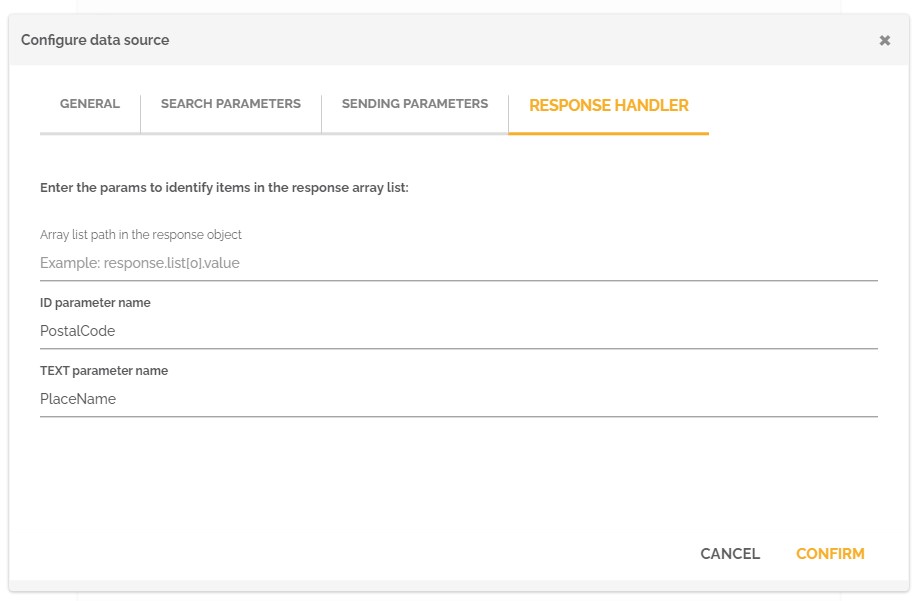
- The ‘Response Handler’ tab lets you define what each callback parameter will represent in the field.
- On the ‘General’ tab, complete the main integration information.
Files upload Properties
This property type can be used for file storage.
Archiving a field
Archiving may be desired when you no longer want to use a field in your implementation. From the time the field is archived, it can no longer be included in forms, but old forms and discontinued versions of processes will continue to display the field to the users who act in the process.
To archive a field follow these steps:
- Access the form where the field is used.
- In the form editor, click the field.
- In the More Options panel, click “Edit.”
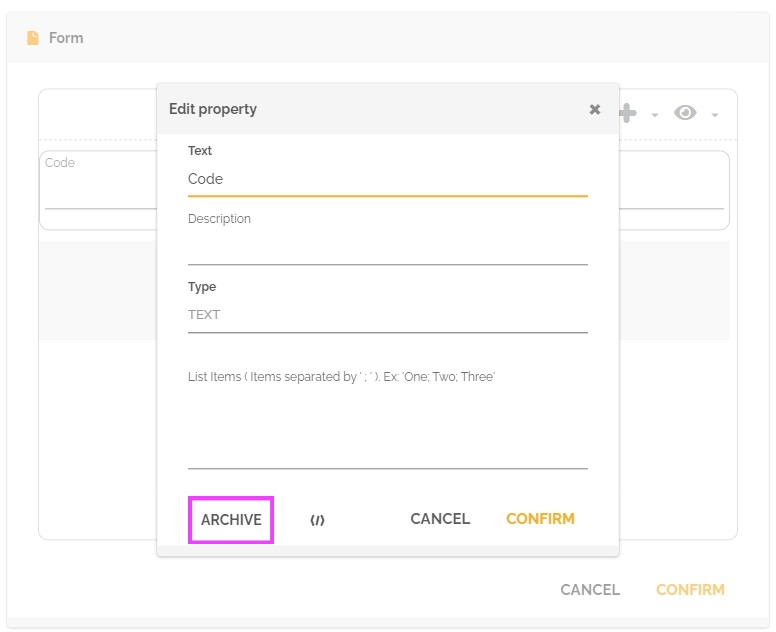
- In the edit dialog, click on “Archive.”
- If you want to remove the form field, then click on “Remove” in the more options panel.