It is possible to add multiple forms to a specific task in your process, copy them for reuse in other tasks in your process, and even improve their layout to make it easier to complete work items. We will see how to make these configurations in this article.
Create multiple forms
- Open the desired process in the process editor.
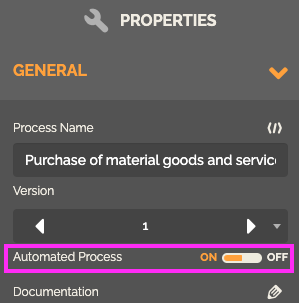
- Make sure the automation option is enabled.
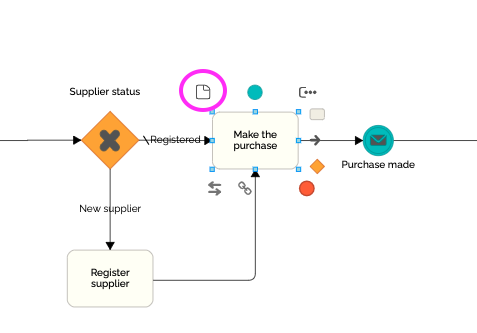
- Select the relevant task, click this icon to add a form.
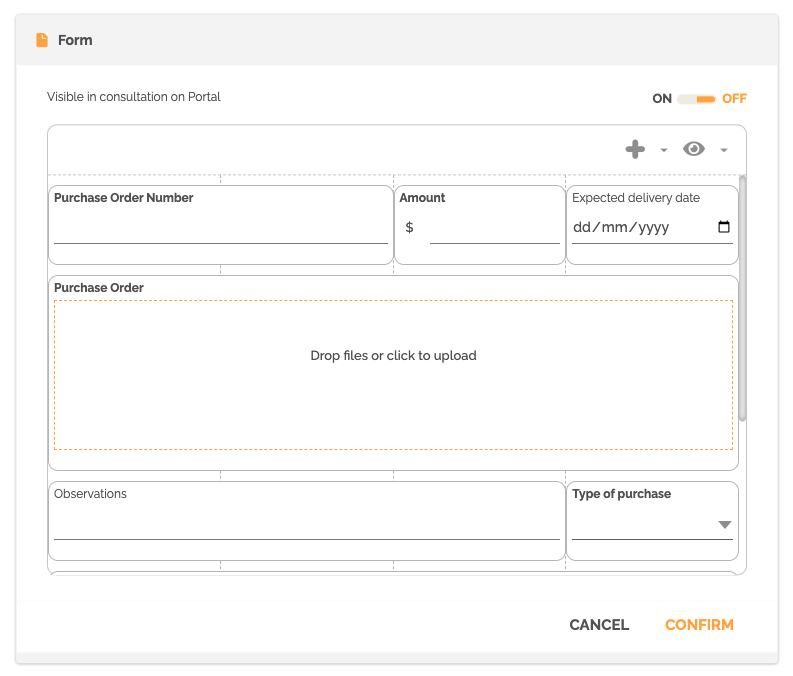
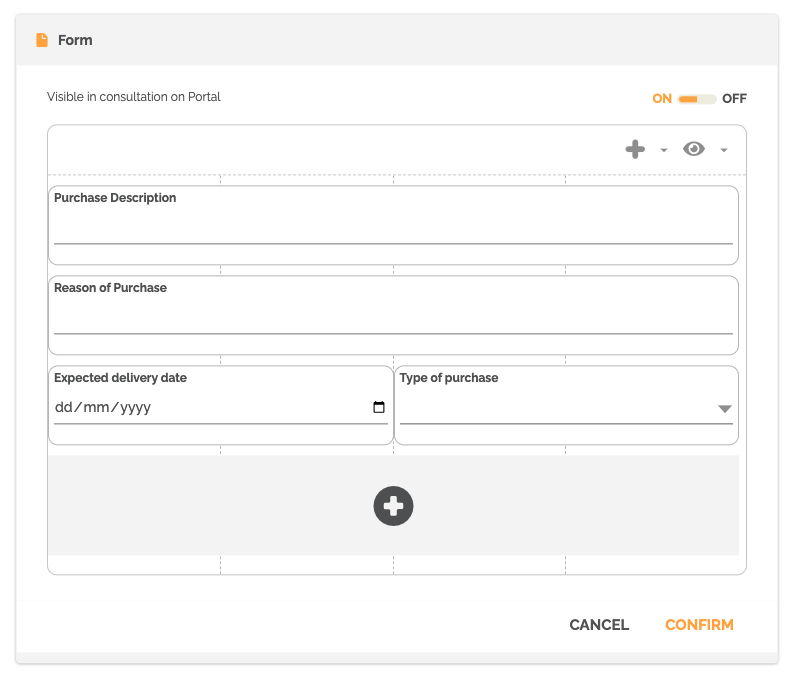
- Configure your form. To know more: Creating forms.
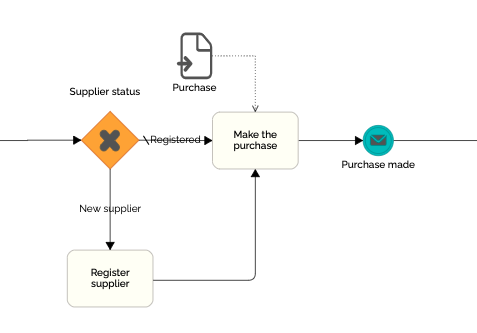
- Repeat steps 2 and 3 to add a new form to this task.
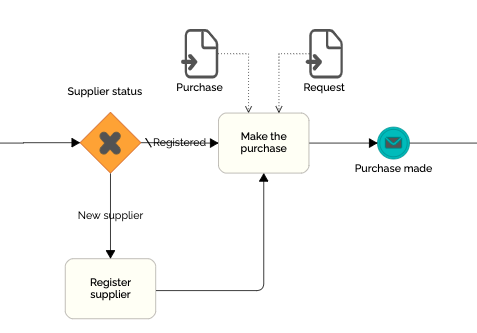
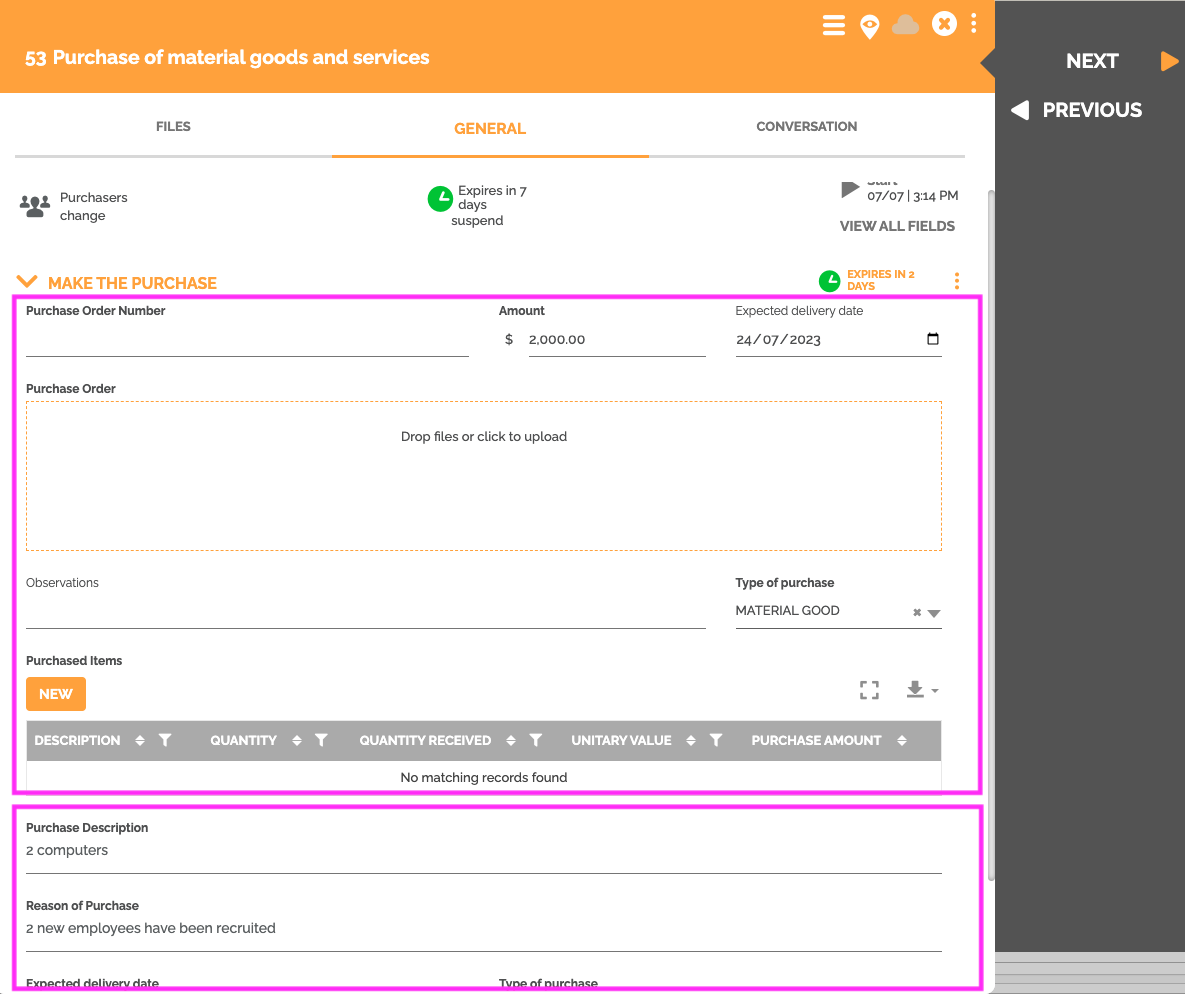
When running a work item, the system will display the 2 forms in the general tab.
Copy forms
You can copy existing forms into your process and associate them with tasks in that same process.
- Select the relevant form.
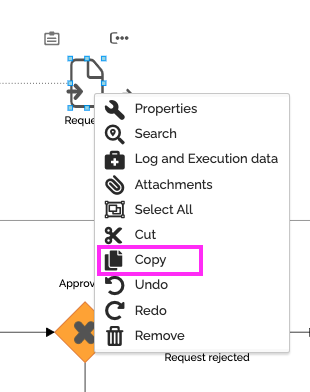
- Do a “control + c” or right click on the form and click “copy”.
- Click the task whose copied form you want to associate.
- Do a “control + v”. You can then choose 2 options:
- If you want the modifications made (change of layout, addition or deletion of fields, rules, etc.) and the information entered in the original form to be replicated to the copy of the form and vice versa, then select the option: “Yes, keep a link”.
- If you want only the information entered in the first form in the process flow to be replicated to the other form, then select the option: “Duplicate the form”.
Create a collection of forms
You can create a form that contains multiple forms. The objective is to avoid overfilling the diagrams so that it is always clear and understandable.
- Select the relevant task, click on this icon to add a form or click on an existing form.
- Click on the form and go to the “Properties” tab.
- Activate the option: “Is Collection”.
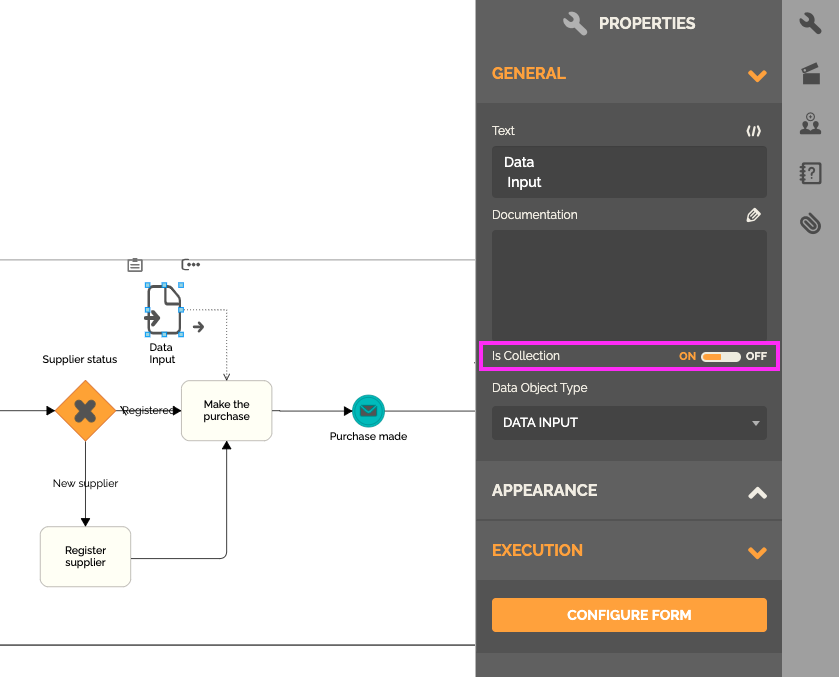
- Double click on the form or click on “Configure form” in the “Properties”.
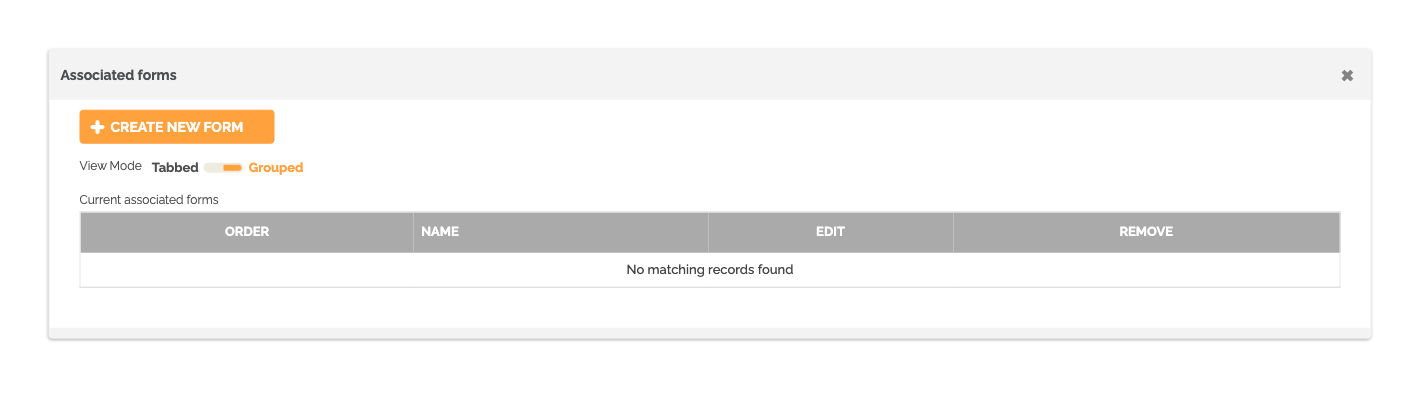
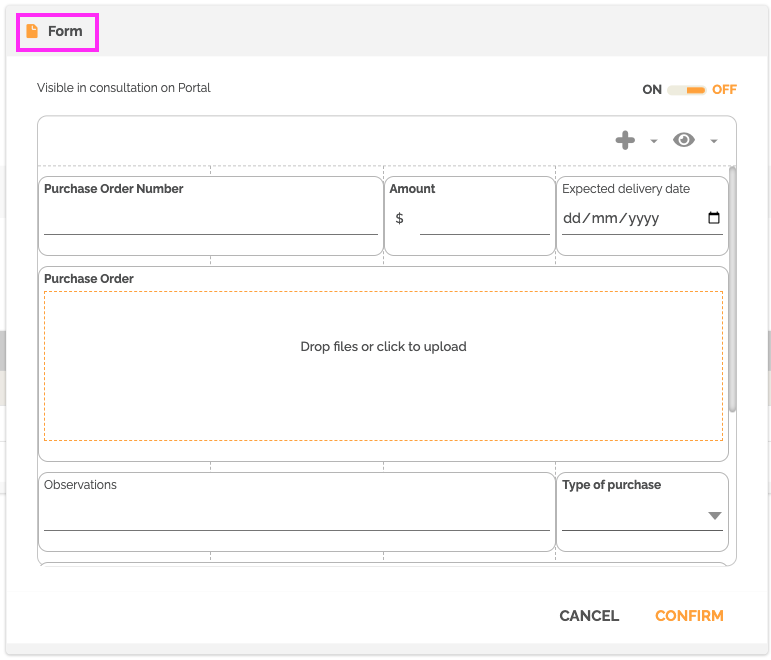
If you have selected a new form, then you will have this dialog box:
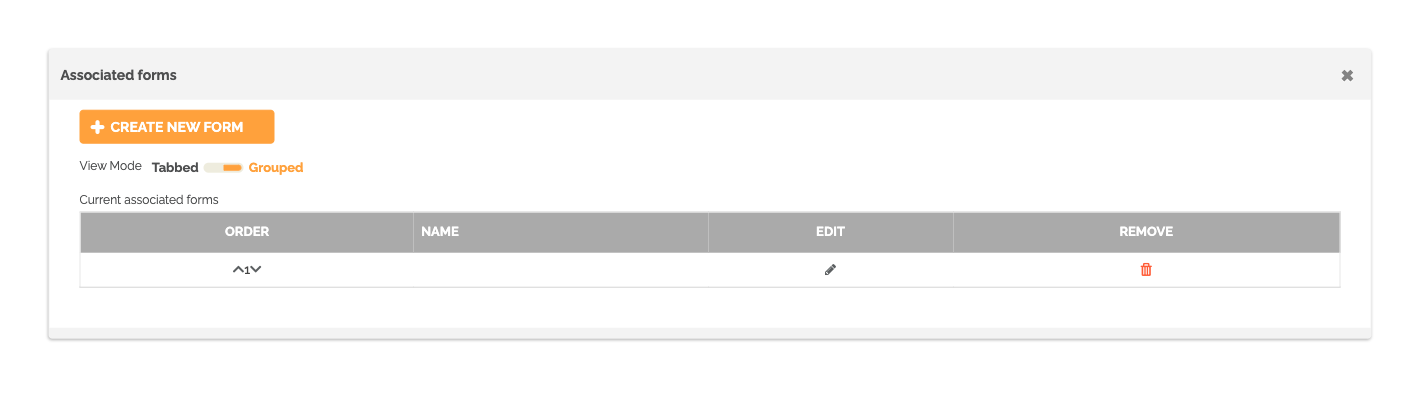
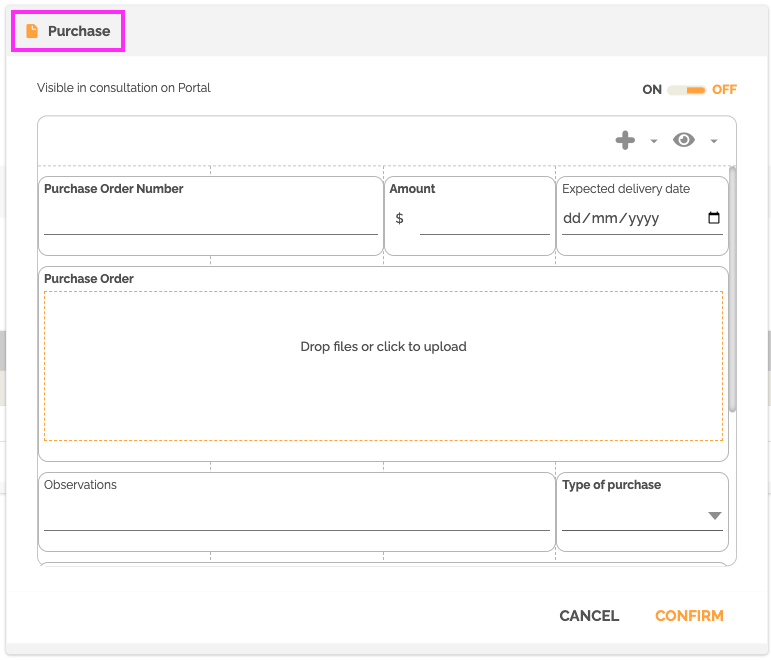
If you have selected a form that already has a configuration, then you will have this dialog box:
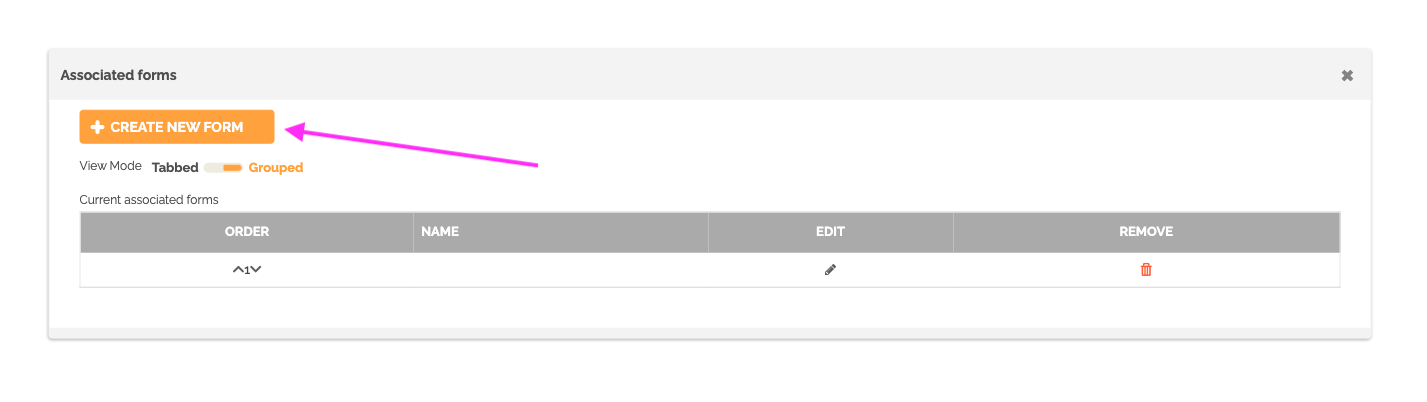
You can add a form to the parent form by clicking on: “Create new form”.
You can then configure it. To know more : Creating forms.
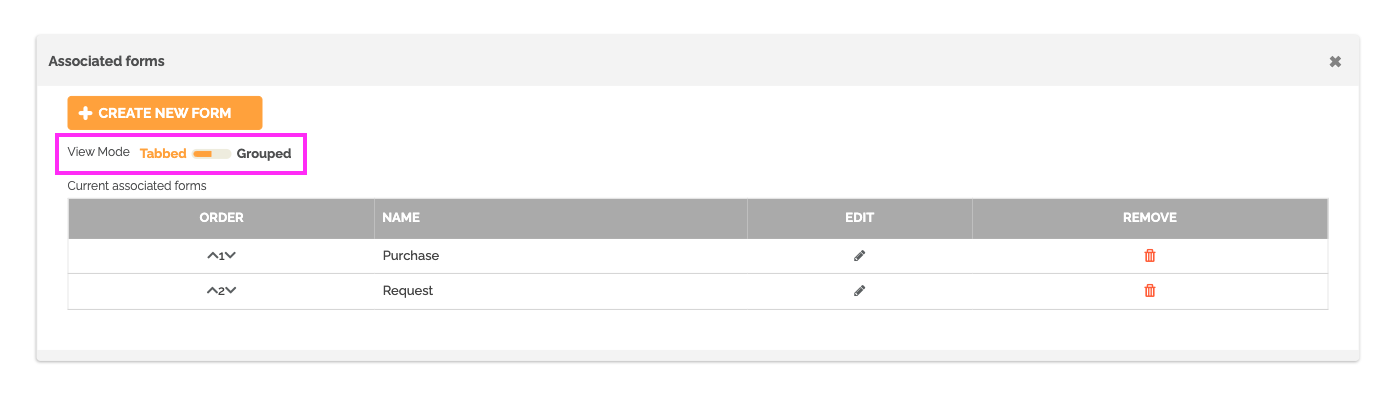
You can give a name to your different forms that make up the parent form by clicking on the pencil icon and editing the name of it.
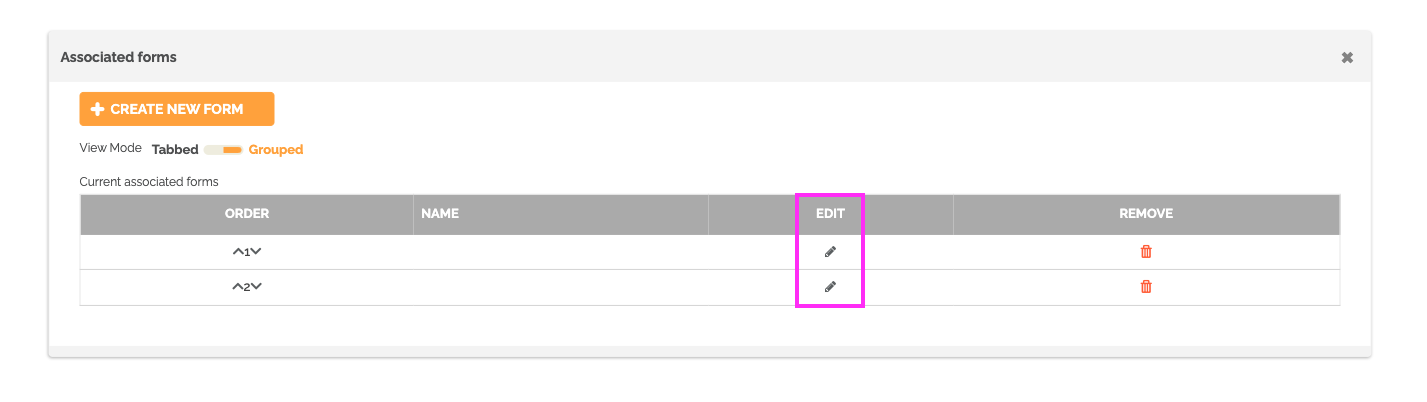
You can also choose the order in which forms are displayed in the work item by changing the order of the first column.
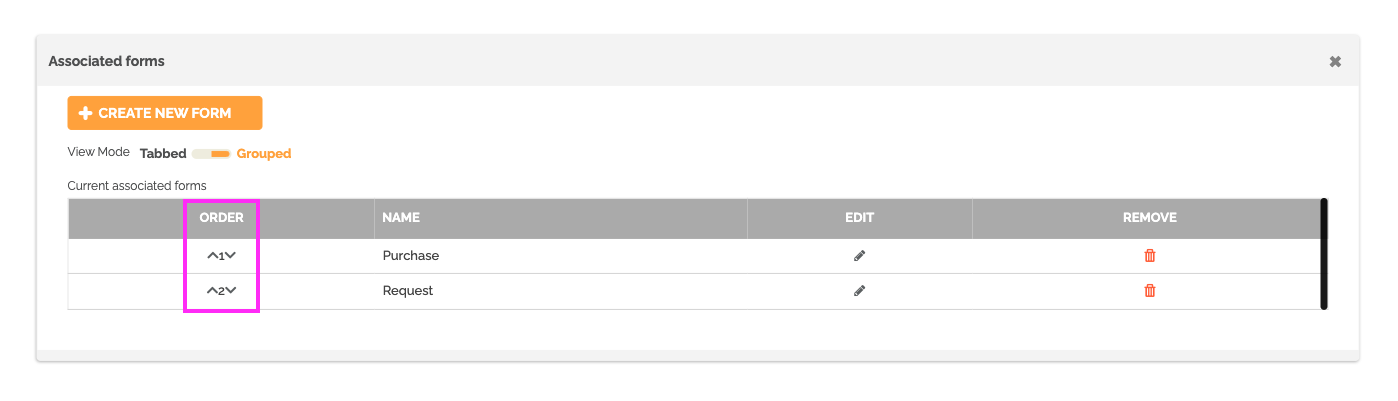
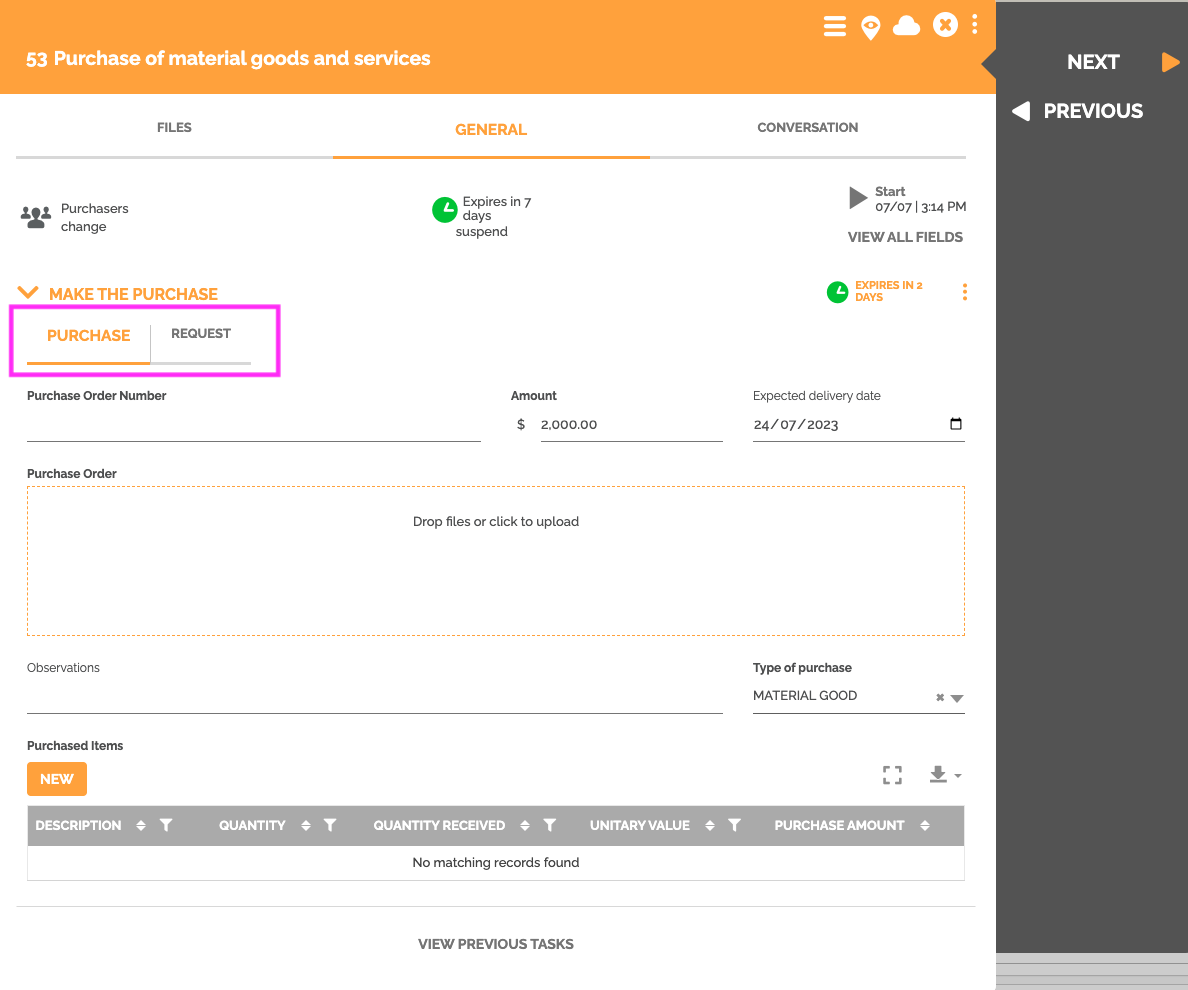
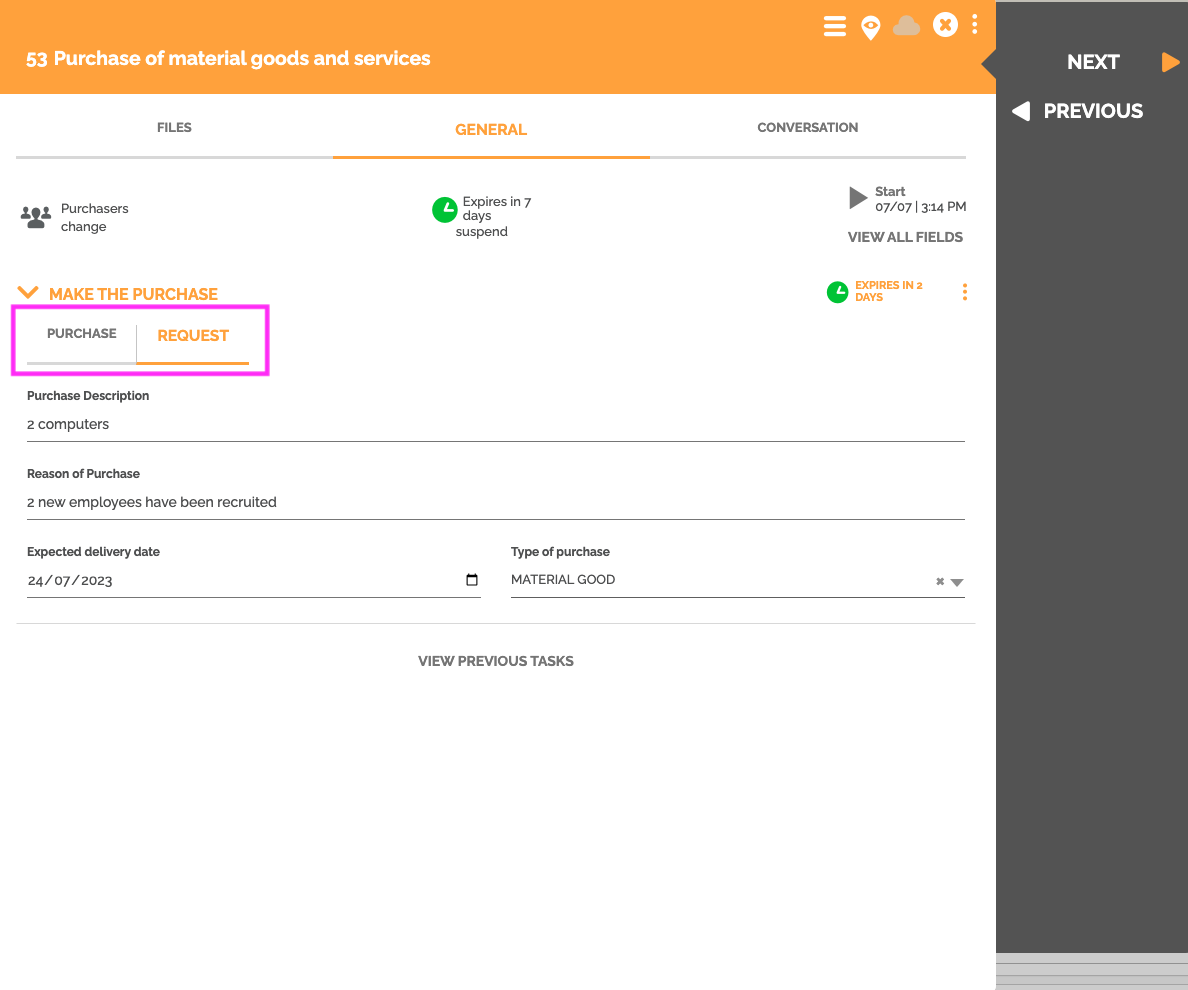
You can activate the “Tabbed” option to create one tab per form in the work item, instead of displaying the forms in the defined order (as seen previously).